With the character skinning and painting I feel as though it went rather well.
Initially I started off by doing the skinning, I did this during the rigging process. Skinning the model allowed the joints rig and the mesh itself to work as one and therefore allowed it to actually work when trying to animate things. This allowing the rig to act similar to that of your muscles and the mesh acting as the skin to hide said muscles and keep everything contained within.
After I had done all of the rigging I started on adding the paint weights to the model. This made it so that when I moved specific joints it didn’t move parts of the mesh that weren’t supposed too.
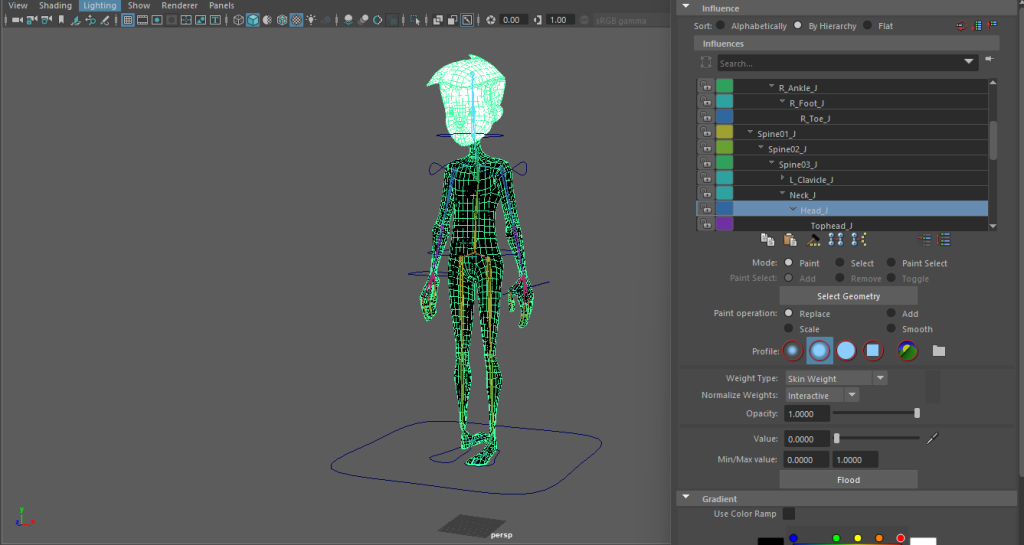
The paint weights main function was to make sure that there was no ripping or deforming of the mesh itself. This allows for a much smoother animation and mesh itself. Without this function, there would have been deformation in both the ribs as both of the shoulders were connected to them. Another thing that would have happened if not for weight paints was that every time that the head moved it would have caused it to stretch and expand instead with the neck instead of staying still. Applying weight paints to the model is similar in turn to adding bones to the model as shown by solidifying the head and adding the skull as well as solidifying the ribs and adding them to the model, similar to how the joints work as the muscles of the mesh.