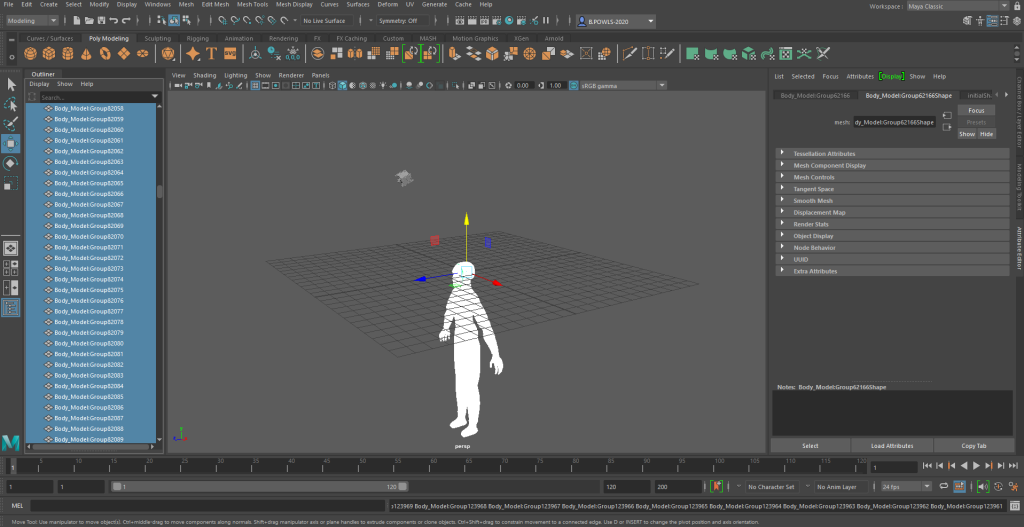
I initially attempted before designing anything to see if I could export/import my ZBrush model that I made in a previous module into Maya. I managed to successfully export all of her parts but after attempting to import her into Maya I realised that she was too complex and would take far too long for my laptop to process anything. I knew this after I watched it take 42 minutes to import the actual model into it and from that point on it felt as though my laptop was dying as it was continually lagging.
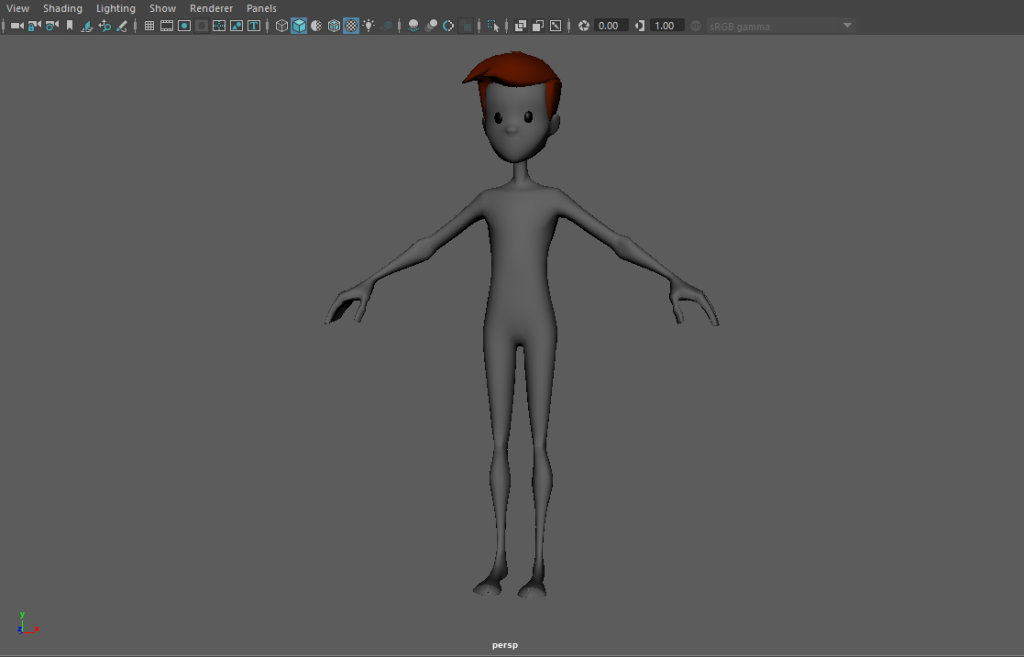
So with this new found issue I decided to use the pre-made character and rig him instead. The character that I decided to use for this was the “AnimationMentorCharacter.rar” as it had a somewhat puppet style to it which I thought might work well for the animations I was planning on doing.
After I had the model I had to make a skeleton for it. I did so by using the “create joint” tool. I went through the steps we did in the lab session starting initially with the left leg, then the left arm and so on, making sure to use the correct naming conventions throughout once I had completed a specific segment.
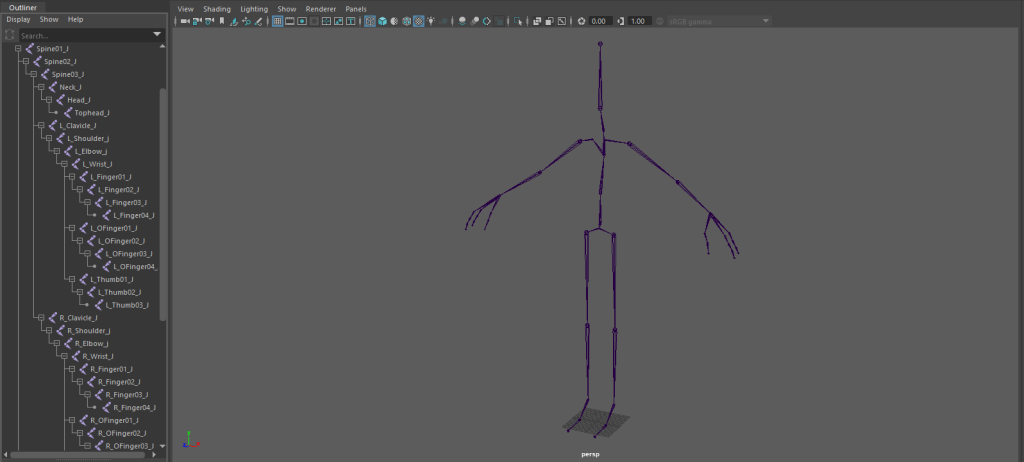
Once that was sorted I then sorted out the orient of the joints using the “Orient Joints” tool. Making sure that the x axis always followed the skeleton and that the y axis always pointed forwards.
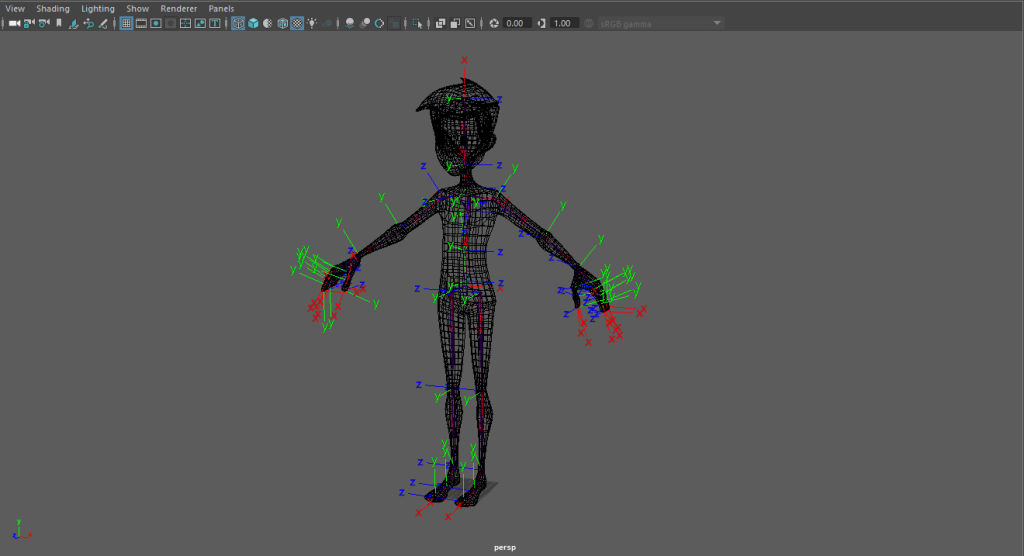
After this I started to add controllers to the model to help me move it without the need to see the rigging. These controllers consisted of feet, arms, hips, shoulders and head, and each one of them allowed me to move either a joint itself or an IK handle which then moved a joint, in turn making the animation process easier to do. I added all of the controls and was able to finally start the animation process.

After I had the model rigged I started to look at how to create realistic movement with it. I knew that the first thing I was gonna have to do is look for reference material, so that’s what I did. My idea with this character was for him to be a puppet/stuffed toy of sorts so for that kind of realistic movement I had to look at a lot more than just walking animations.
I started off by looking over videos on Youtube, these videos being of walking animations of both 2D and 3D to try and get a better understanding of how to do it. Then I started to look at references that would better suit a puppet, such as:
- https://www.youtube.com/watch?v=hyR3zaooZ0w
- https://www.youtube.com/watch?v=aPjs6ZDQrEU
- https://www.youtube.com/watch?v=z-7q1kV88eo
- https://www.youtube.com/watch?v=i6BFGCA3Quw
Which allowed me to see the different ways of which I could design the walk and make it realistic to how what it is.
I also recorded myself to see better how the cycles would physically look. These would allow me to have much better references than just an image in my head. Although I didn’t film or attempt the creation of the idle animation / cycle as the idea for that is to look almost like a soft toy that has just drooped to the floor as either a hiding mechanism or as a trap.