The image above shows the rough layout that I have planned for the top down shooter. This will be a linear level that will allow the player to make they’re way from the the right side of the map (Where the X is) to the left side of the map to the portal in the top left corner. The small circles are enemies that will attempt to attack and stop the player as they attempt to escape this world.
The image above shows the rough layout for the first person shooter. This design is inspired by both the original Doom as well as Wolfenstein 3D, having a linear and tight rooted pathway with the occasional enemy whilst needing to retrieve coloured keys to open the doors that allow you to finish the level. It will even have a secret in the level to once again throw back to the classics.
After a long amount of time I finally finished it. Though that’s not without somethings not getting implemented or just fully needing to be scrapped.
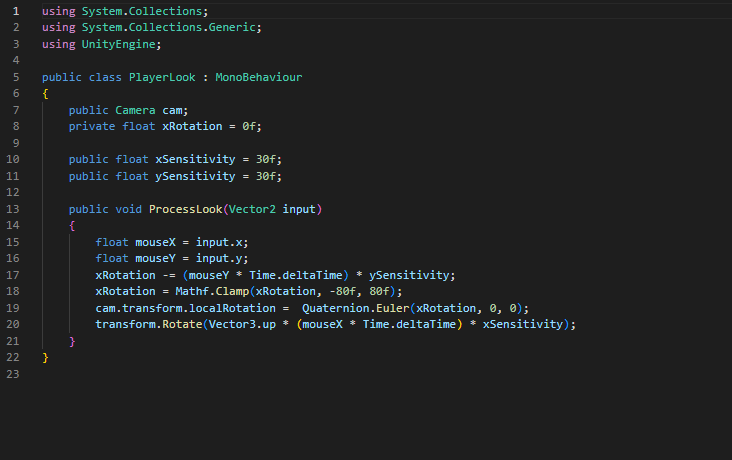
I sadly wasn’t able to implement animation into the Turn Based Combat, which is annoying as I was hoping I would be able too. This was due to a lack of time mixed with having issues with both Maya and Unity.
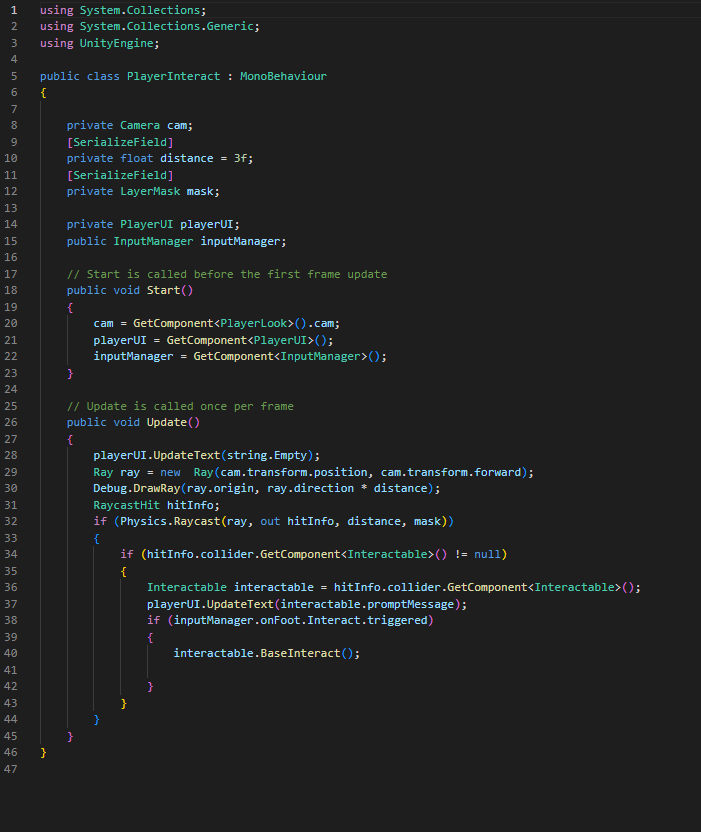
I also sadly had to scrap the entire FPS from the final product, this is because with me deciding to create a new controller output exclusive to the FPS it made it impossible to import it into other projects without a million errors popping up. Even after going the opposite way, and importing all the other projects into it, it ends up making all the other games unplayable and having only the fps playable. So to be able to hand in a functioning game I had to sadly remove it. I did however release it as it’s own level.
With the additions from what I added I feel as though the game is a lot closer to where I initially wanted it to be but still not fully there. I’m happy that I was able to add the fps into the final game after reworking the controls back to the base control, which works just as well. I’ve altered the top down so that the level doesn’t look as messy and muddy. I’ve altered it so that there’s a loading screen in between each turn based to other world and I fixed the side scroller so that you actually start at the beginning at instead of 2/3 of the way through the level.
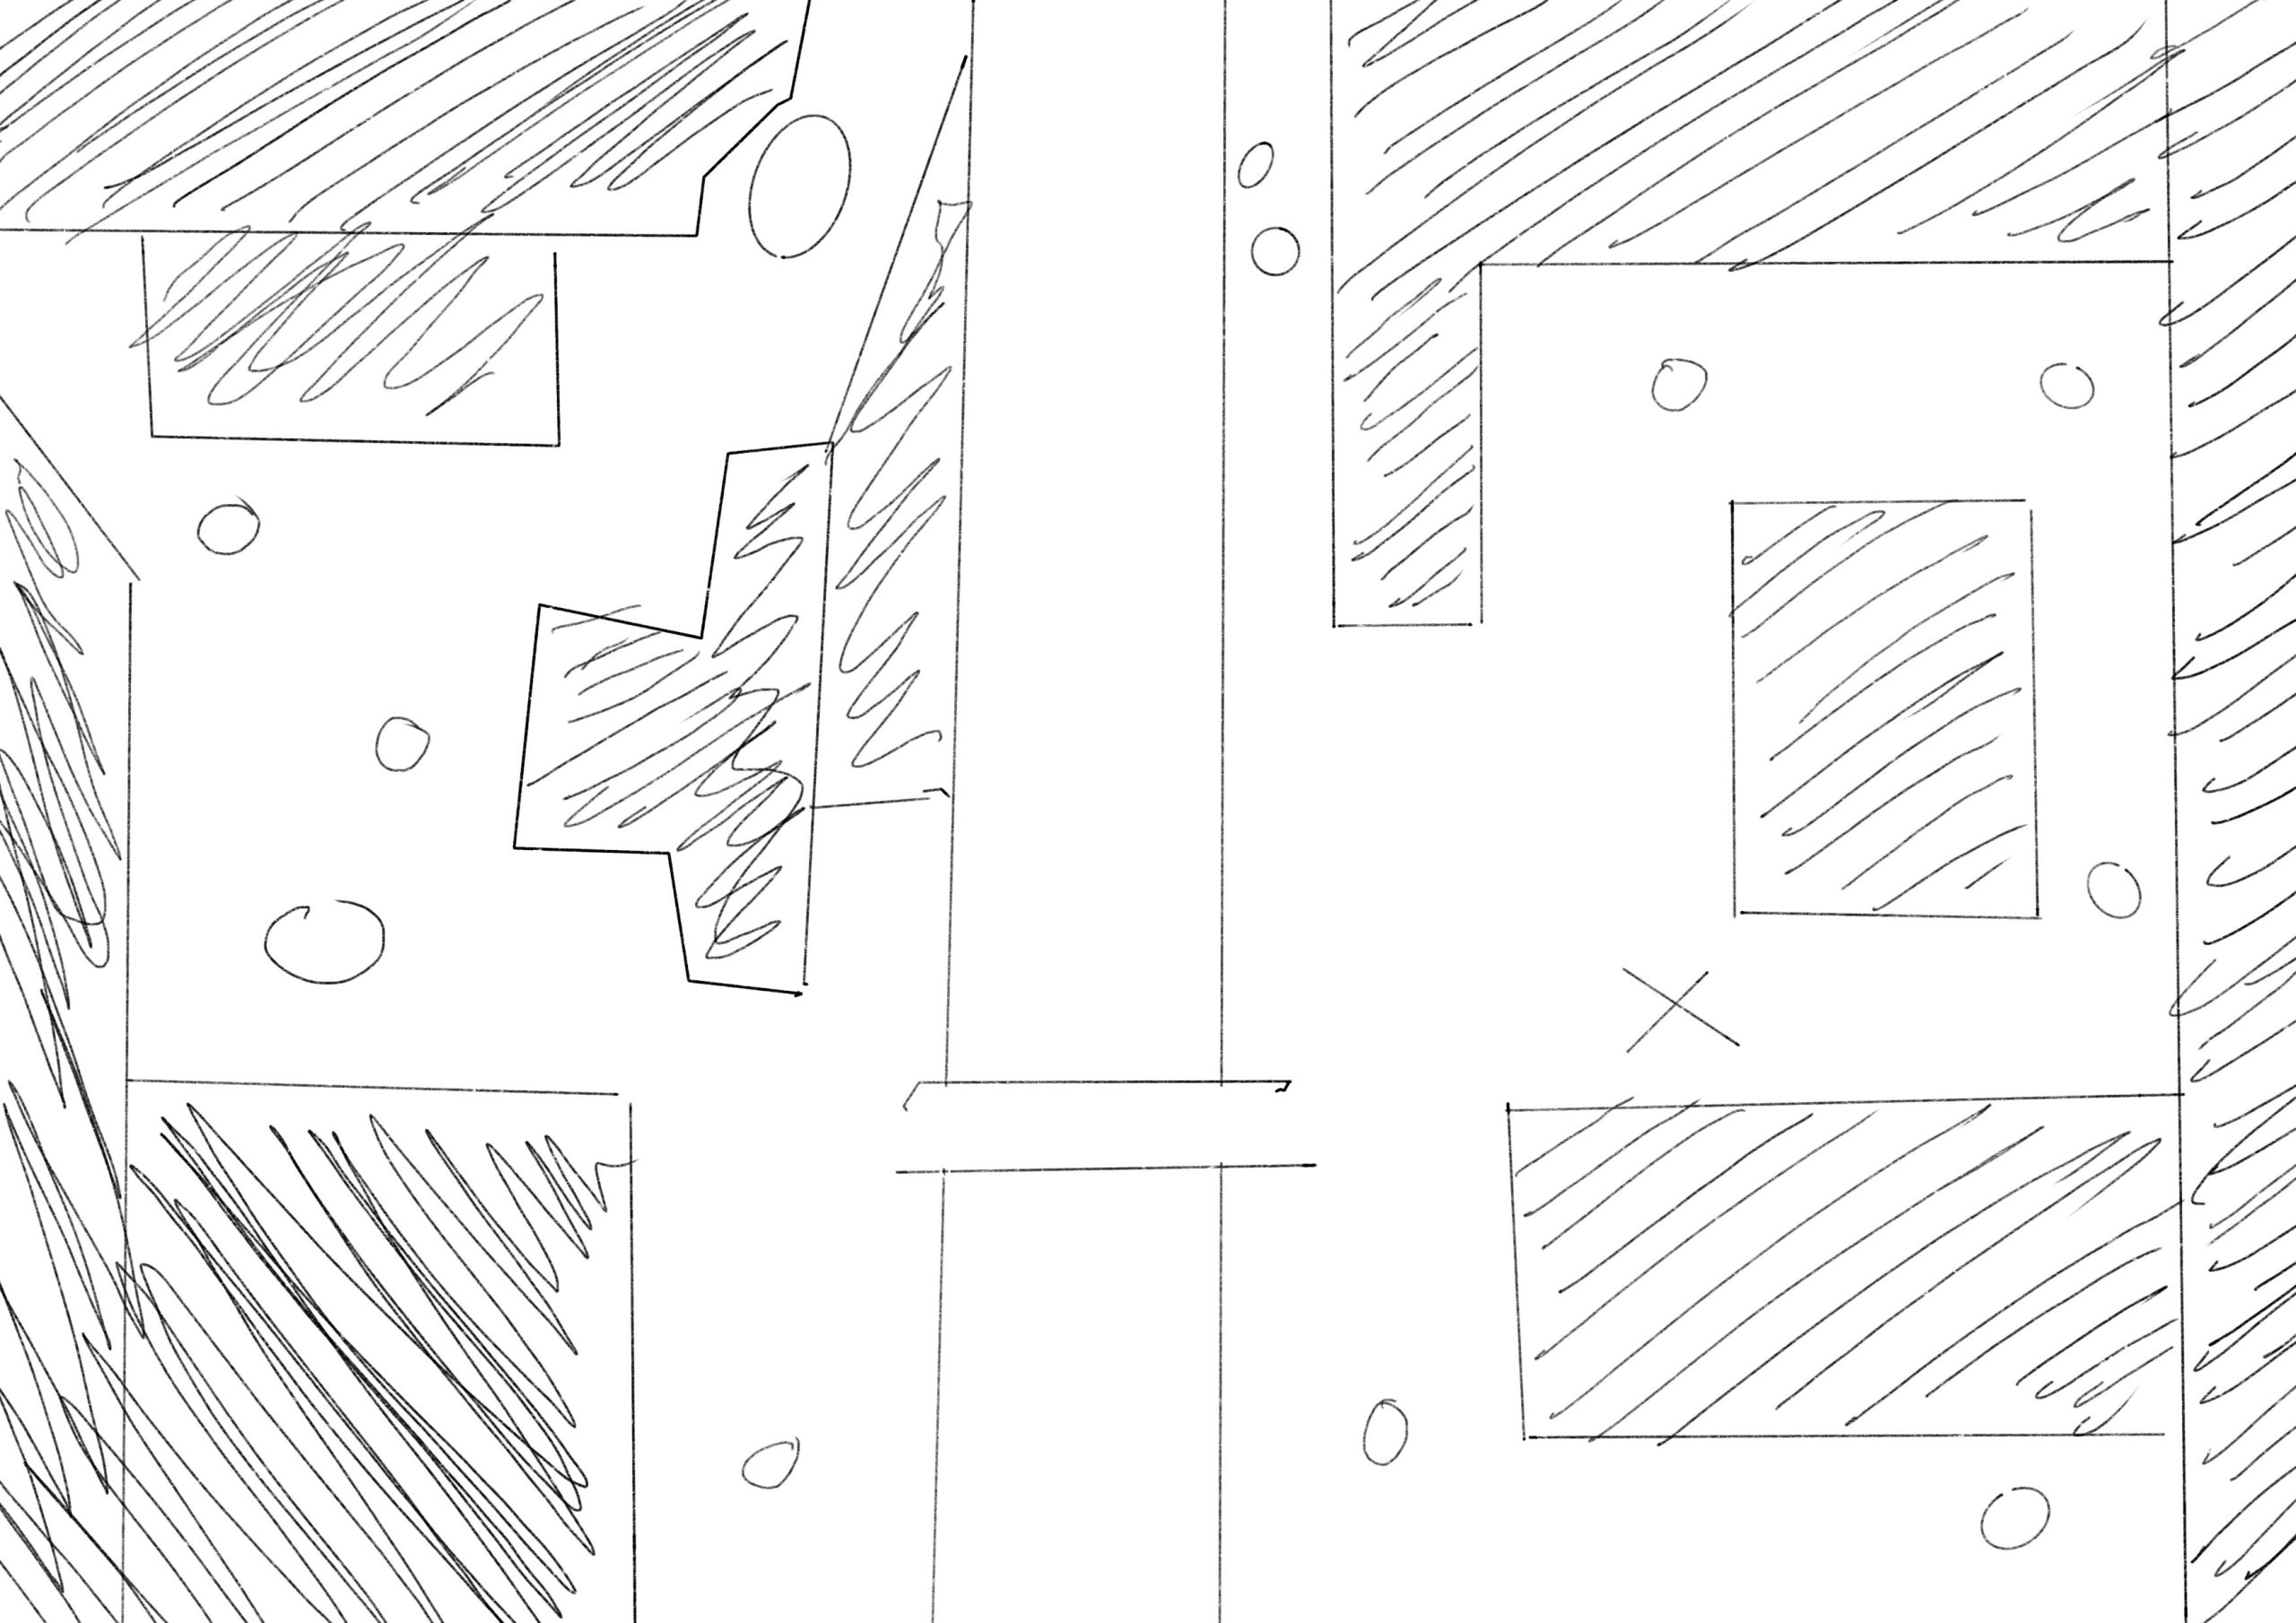
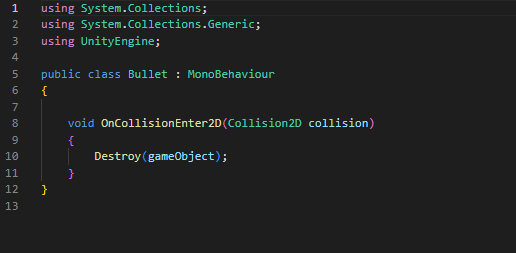
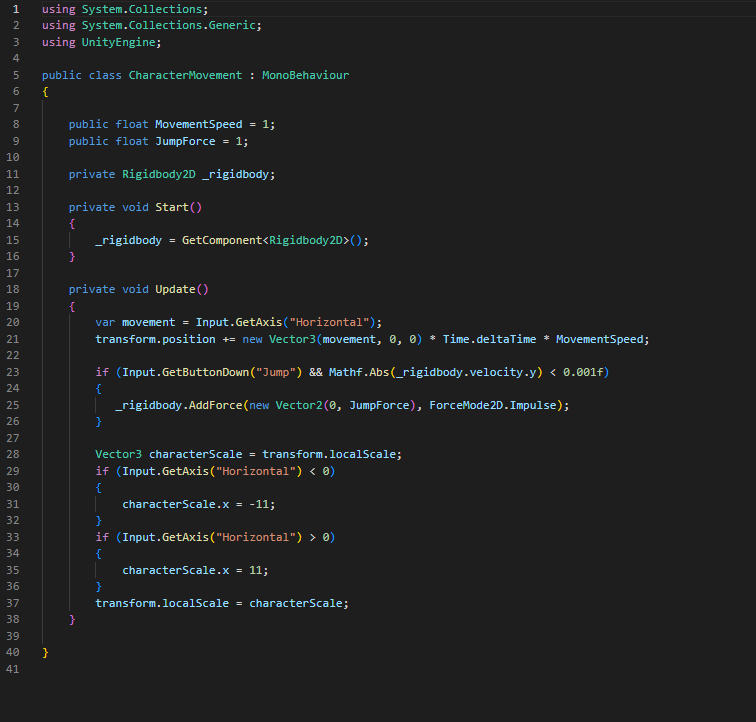
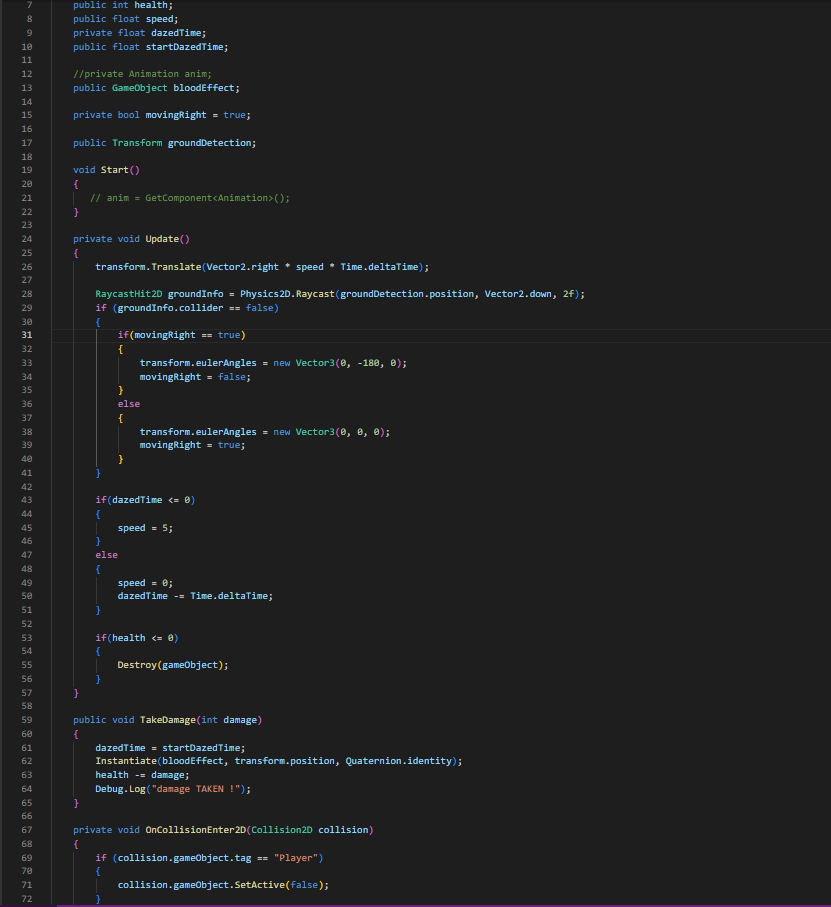
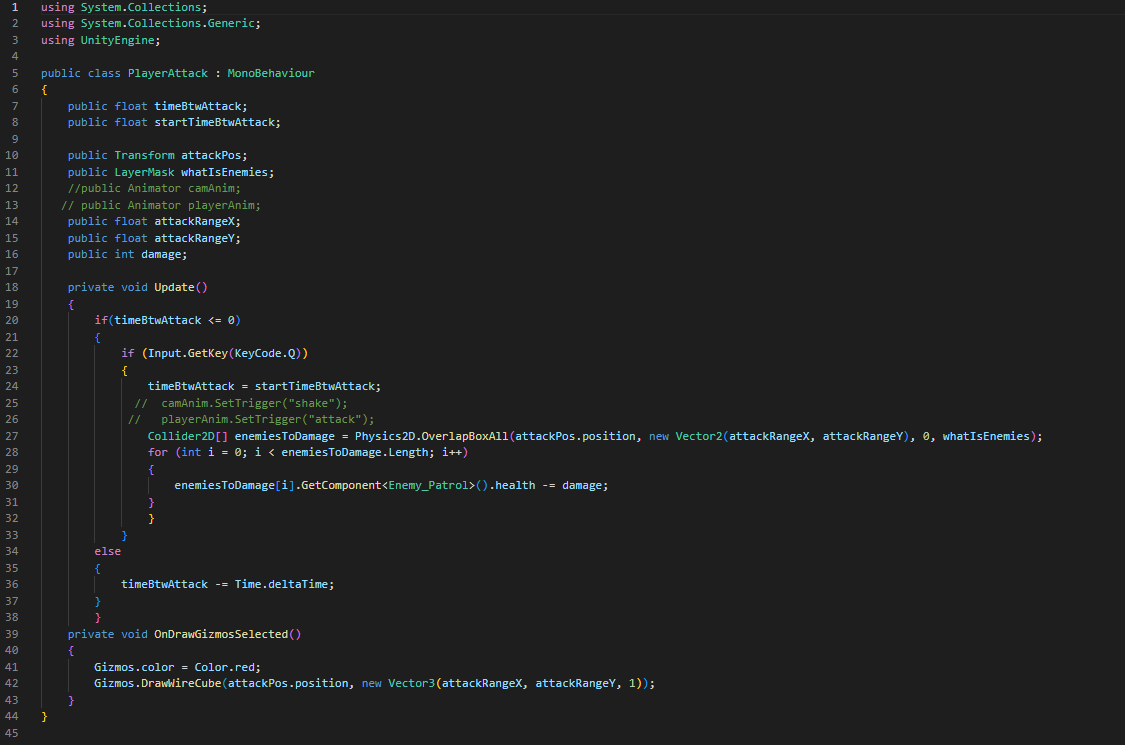
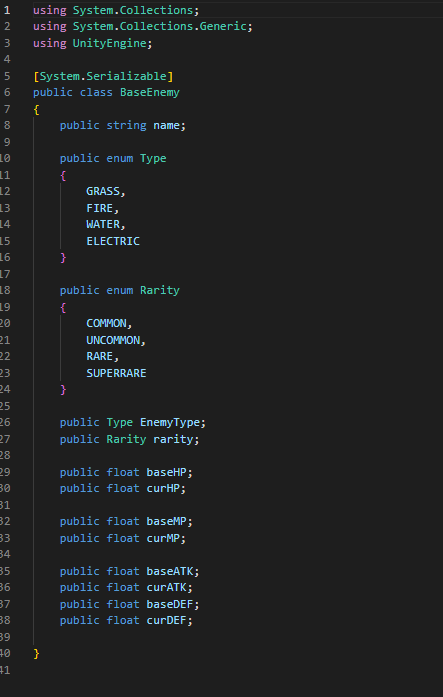
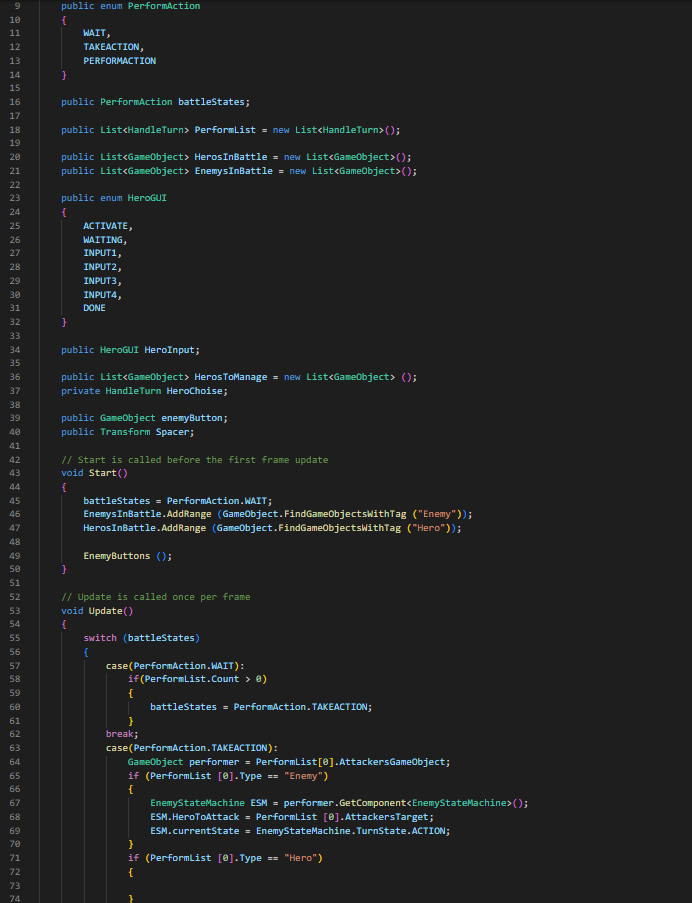
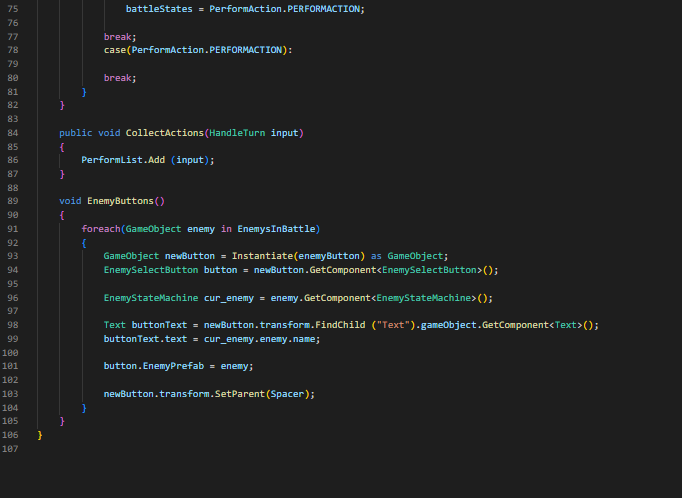
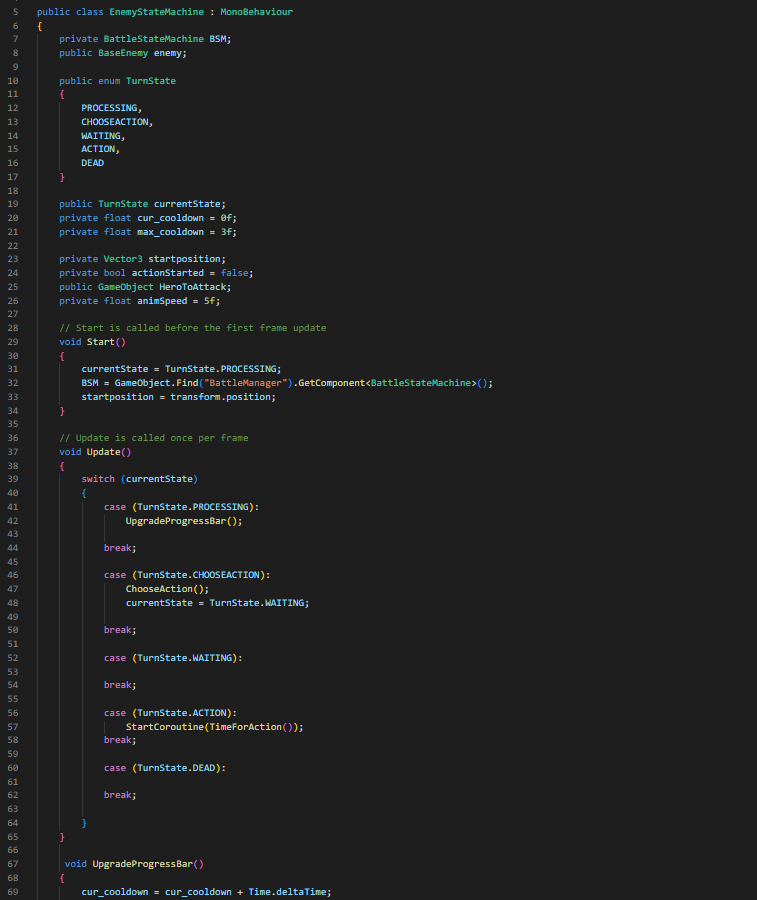
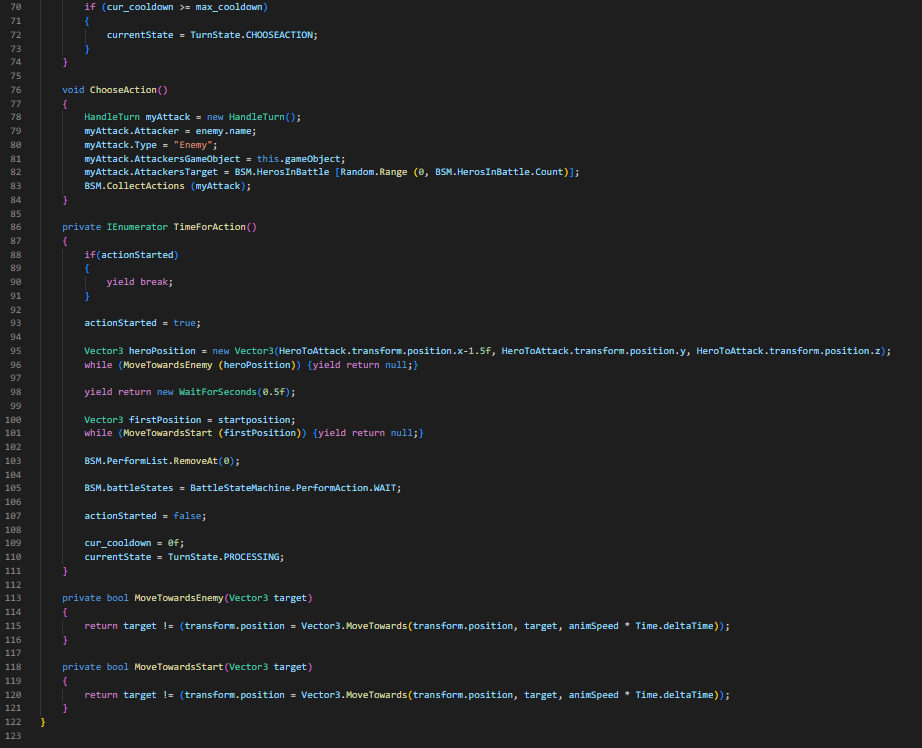
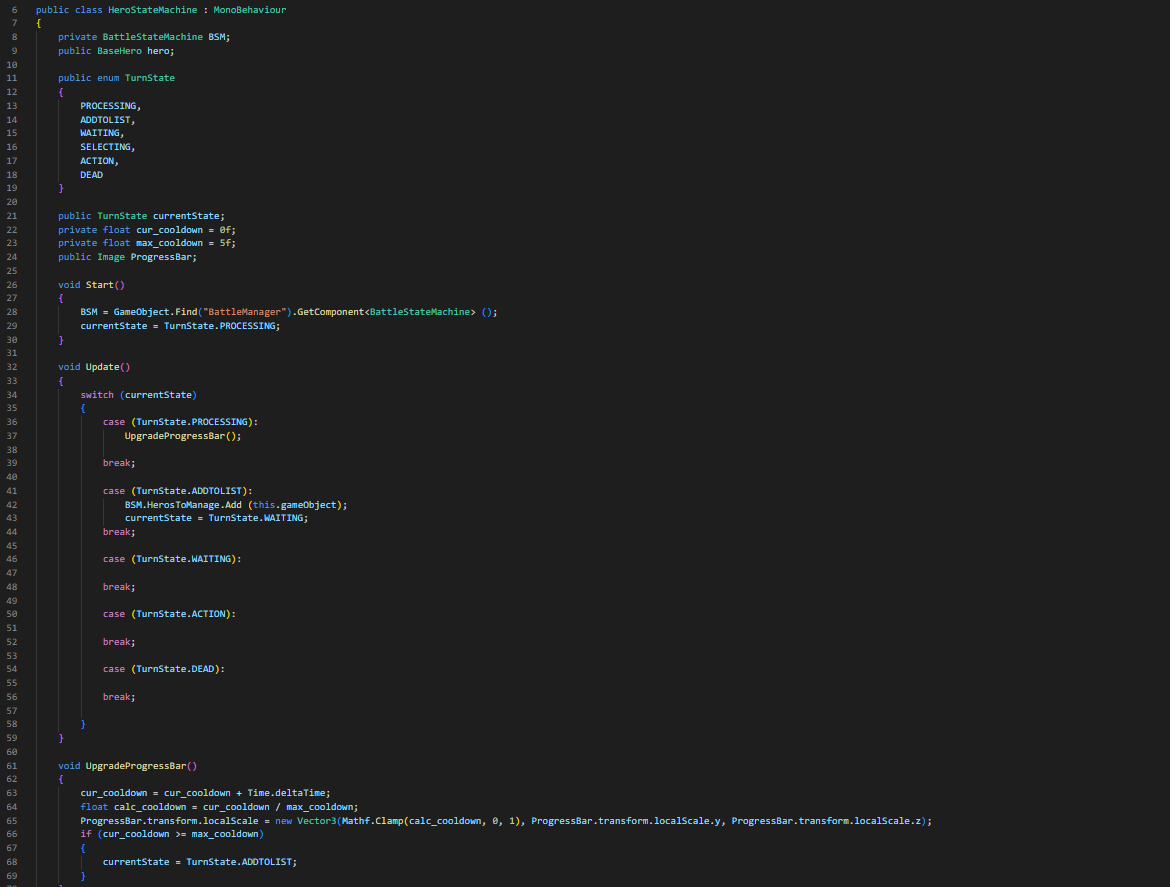
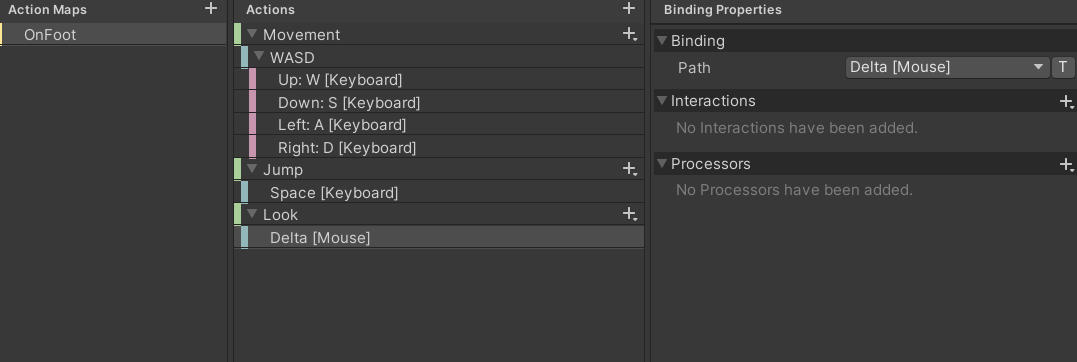
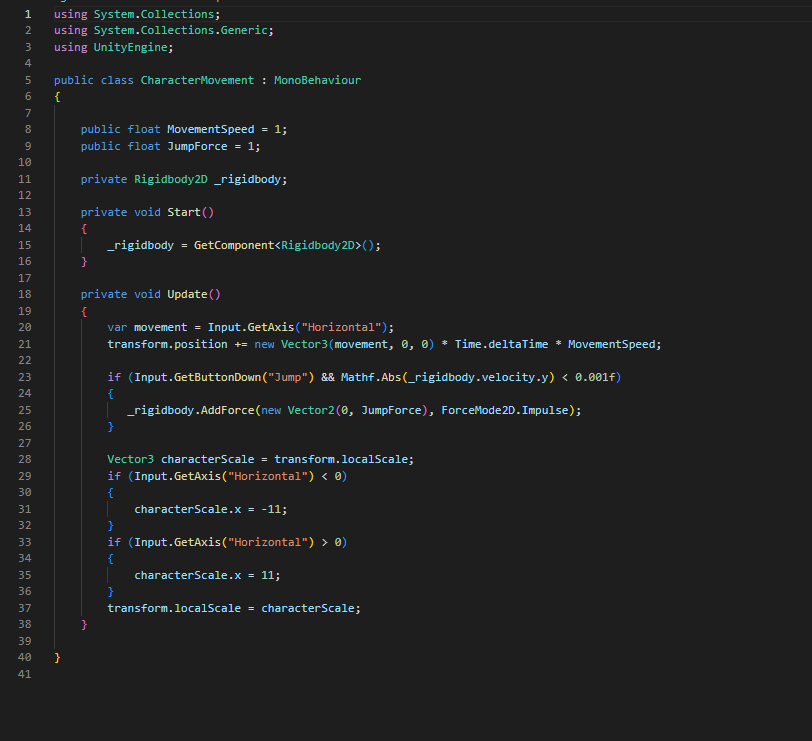
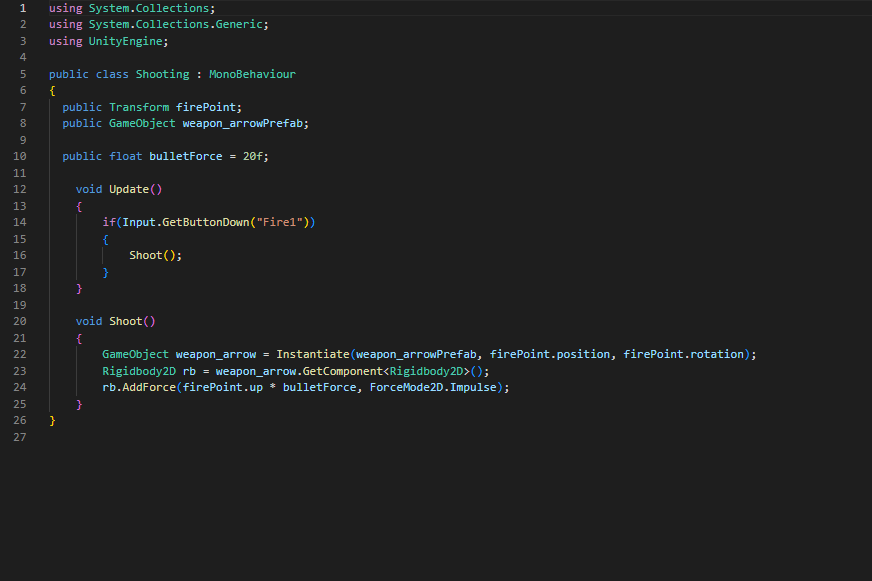
I have been stuck on the coding for the turn based combat for bloody ages. If it’s not one thing it’s another. First, it started off as just a couple parameters that needed changing within some scripts but as I continued to add more to the script and creating more prefabs that were needed for the project the less things worked. It turned into just errors with the prefabs, then it ended up messing up the prefabs which has in turn resulted into the project not working anymore. I don’t now what to do, it’s one day past the assignment due date and I can’t seem to get anything to work as as soon as I start the scene it instantly pauses itself coming up with the error of:
NullReferenceException: Object reference not set to an instance of an object BattleStateMachine.EnemyButtons () (at Assets/Scripts/BattleStateMachine.cs:143) BattleStateMachine.Start () (at Assets/Scripts/BattleStateMachine.cs:57)
But the thing is it does have a reference because it worked two minutes before hand. I just feel as though this project was something that I was going to love as it was a game that I wanted to make for so long. Instead it has resulted in me hating coding and everything to do with unity as no matter what I seem to do within the software it always ends up messing up, almost like it was destroying itself.
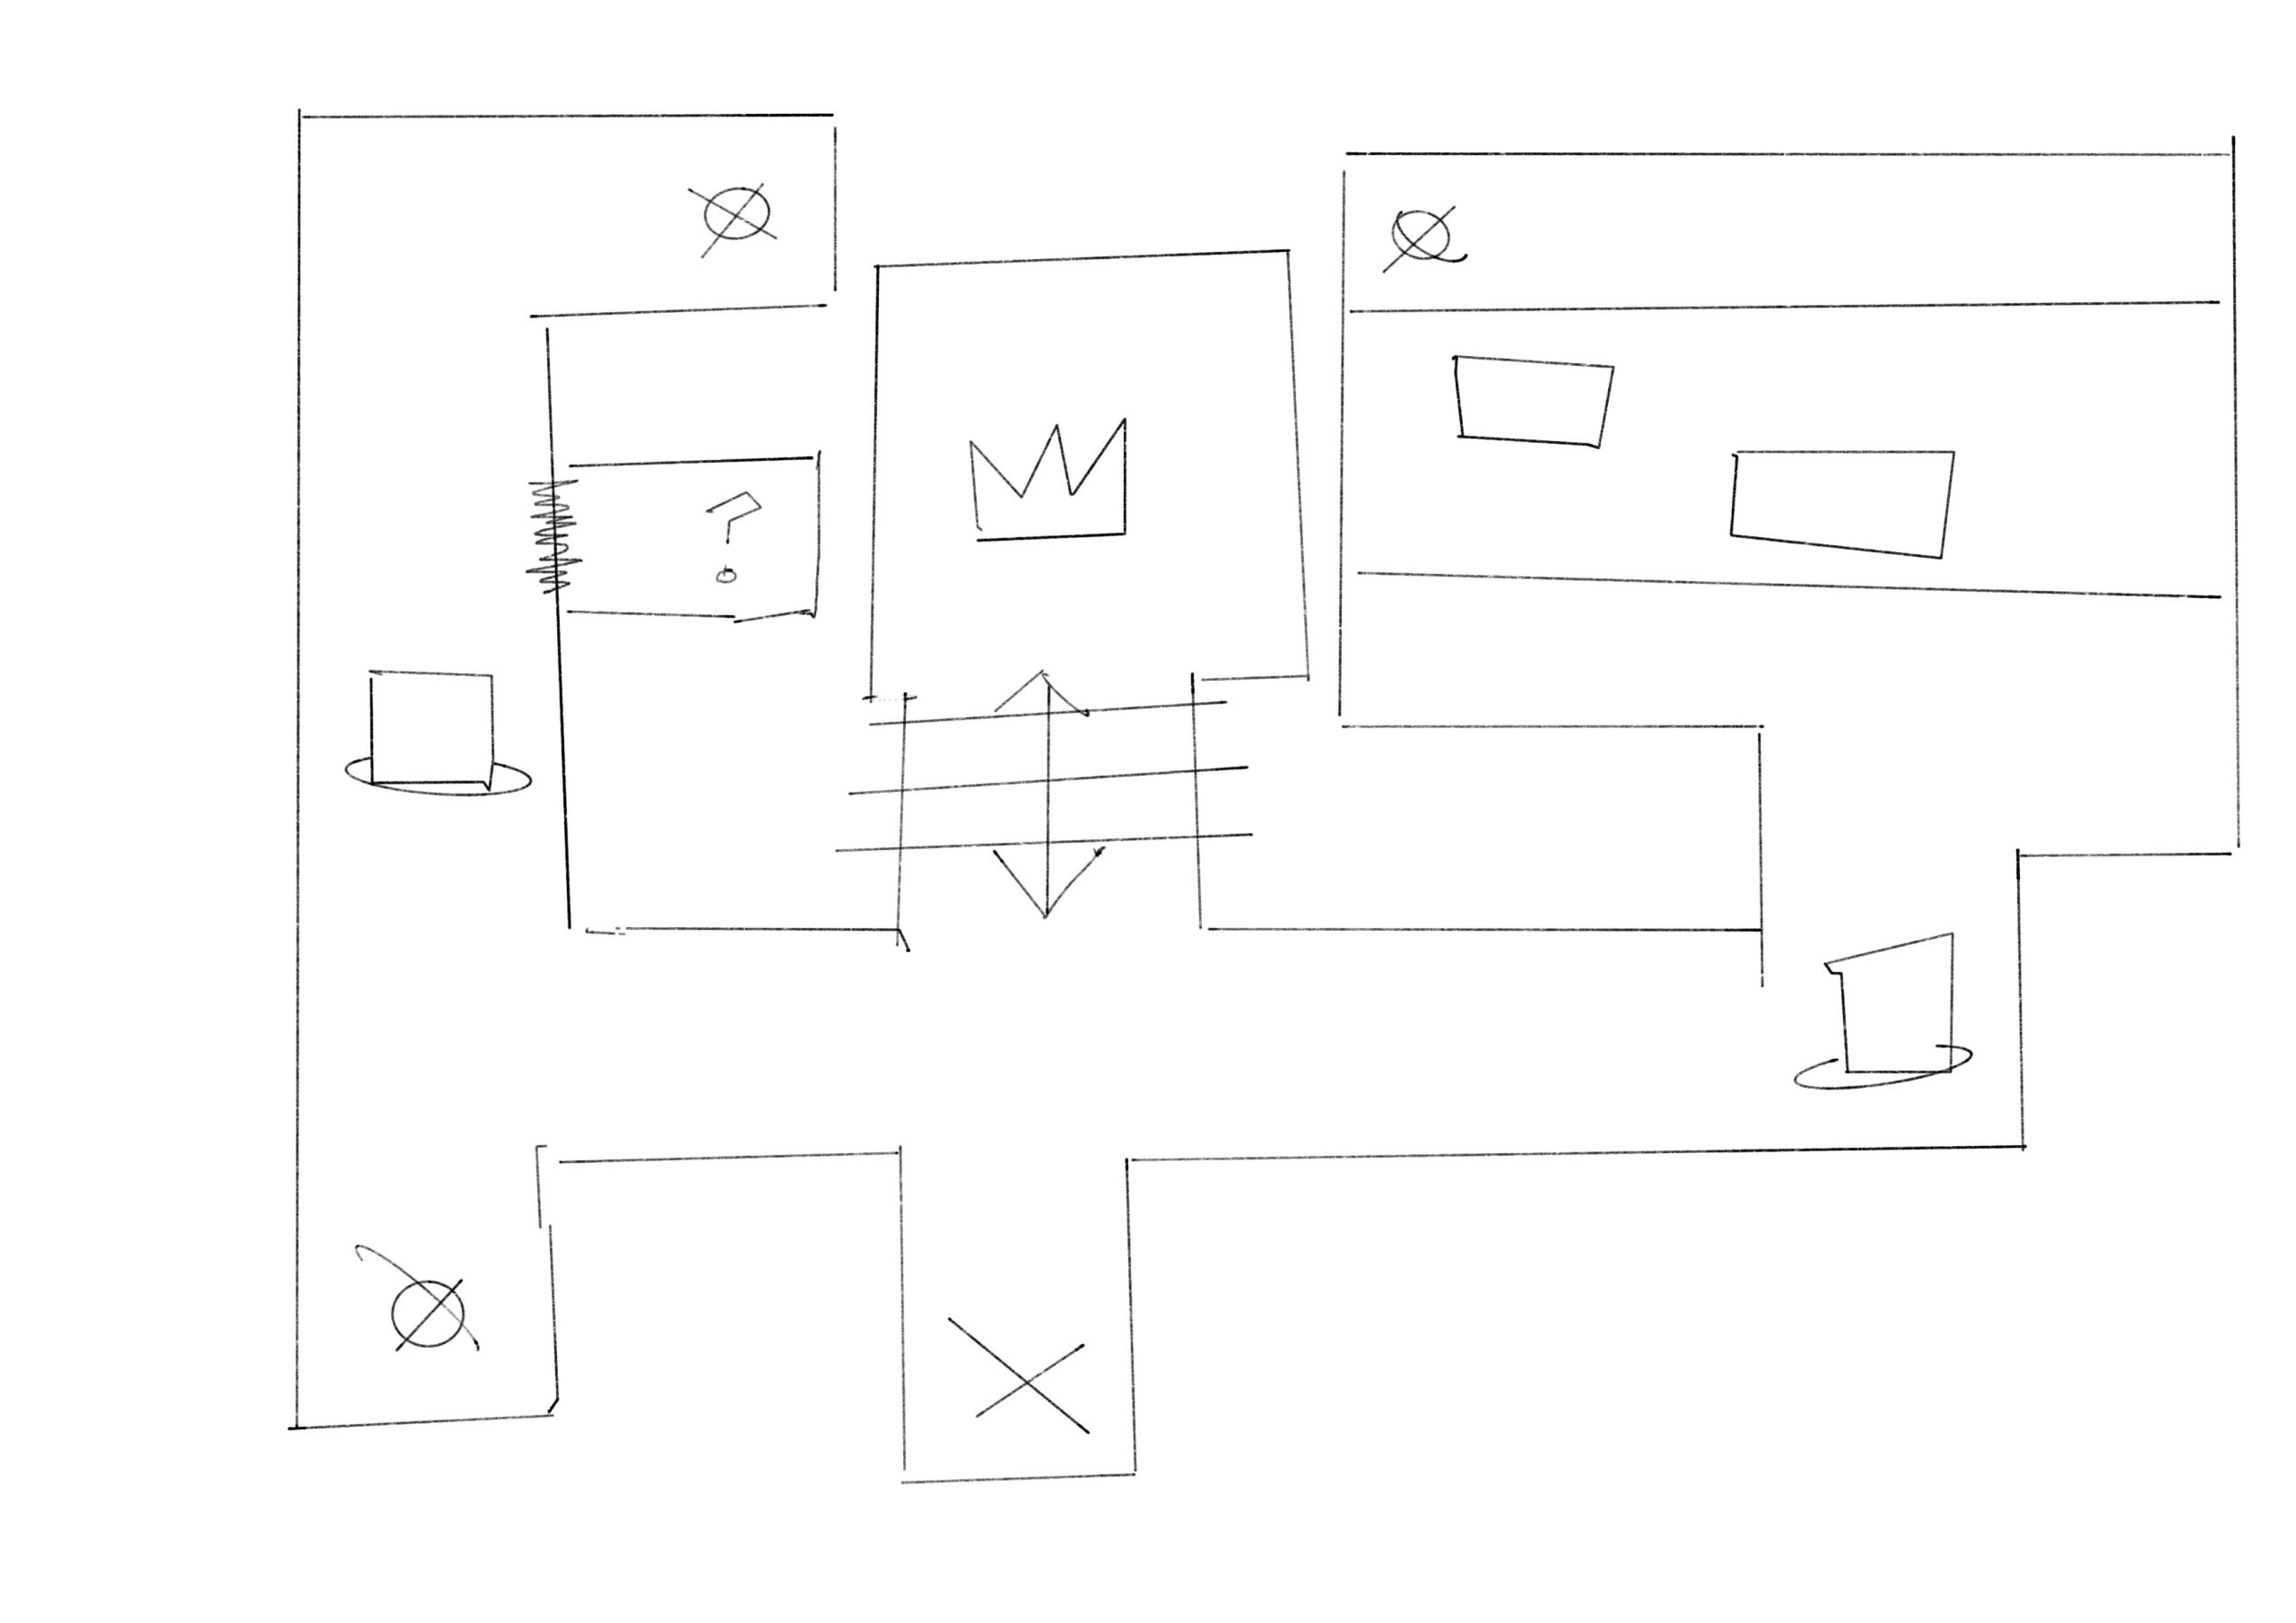
At this point I’ve done all the other three games, it comes down to literally it being a case of getting the turn based combat done, and then connecting them all up using the scene manager, which I can already tell is going to go terribly just from the way that things have been going so far.
I understand I shouldn’t have left it this late to finish off the major project, seeming we had a whole year to sort this out but I also know that there’s nothing I can do about that no other than hope that whatever I can create is good enough to be a pass.
I knew when I was going into this that there was going to be a lot of coding but I’m not going to lie. I didn’t realise it was going to be this much. I have about 3/4 of my FPS, TopDown and Platformer sorted. But my turn based I’ve only got about half done if that, and at this point I am hating to see code. But I am continuing to push through to get this project done and hand it in hopefully on time.
FPS
This piece of code is used to align the camera with the mouse, this allows the player to move the mouse around and control the direction in which the player is facing.
This piece of code is used to help the player not only move around the environment using ‘wasd’ but also allows the player to jump and controls the weight of said jump.
This piece of script allows the user to interact with objects by shooting out a invisible beam that knows whether or not it is colliding with an interactable object.
This piece of script allows the player to interact with doors and open them.
TopDownShooter
This is a simple piece of script which will be used on the enemies so that when the bullet hits them they disappear.
Platformer
This piece of code is used to control the ‘cinemachine’ and designate the boundaries that it shows and allows the player to enter.
This is a simple piece of code that controls that of the player, and makes it so that the sprite changes direction depending on the movements of the player.
This piece of code is used to control the enemy AI. This allows them to move side to side and detect where the floor is by projecting a invisible line down. It also gives the enemy a health value and allows the enemy to take damage and disappear once dead.
This piece of code is used to transfer the character from one world to another after pressing the ‘e’ key. Though it will only work if you’re in the invisible box created by the gizmo.
This piece of script allows the player to actually attack and sets the parameters of the attack range as well.
TurnBased
This piece of code allows us to set up and personally enter the stats of a enemy creature whilst also classifying it within a certain rarity and elemental type.
This piece of code also allows me to enter in stats but instead of it being for monsters it’s for the hero’s.
This piece of code is used to control the turn based itself. allowing the hero to choose an attack and allowing the enemy to choose an attack as well.
This second part of this code is used to assist with unity understanding which action is currently being done as well as what models need to move and be controlled.
This script is used to control which action the enemy will commit as well as the speed and cooldown that the enemy possesses.
The rest of this script is used to move the enemy towards the hero it is attacking.
This script is used to control what state the hero is in and when it is that the hero will change state and what is needed to be looked at to determine that.
I once again did something different when creating these in comparison to creating the scripts. With these I decided to use them more a downtime activity, creating them when I needed some away time from the excessive amount of coding. And instead of doing bits and pieces of each one I decided to focus on one entire game each before moving onto the next games assets.
For the time being I have created the assets for the 3D Turn Based Combat. These consisting of multiple 3D models; a knight, a princess, the boss, the back walls and the knights weapons (Sword and gun).
To start with my project I knew that I was going to be doing a lot of coding as I was planning on making the entirety of this game within unity. Not only that but with having 4 different types of games in the mix as well each one of them were going to require there own controllers and scripts, which as I stated was going to be a lot of coding.
I started off originally with tackling a little bit of each game all at once, attempting to keep my interest constantly changing as to attempt to not get burnt out on any of the games.
Turn Based Scripting
This piece of script is to assist with adding stats to the hero’s that you play as.
With this game I was mainly trying to get the UI sorted out as well as the implementation of the models to have the layout sorted out. After which I am planning on sorting out the attacks and damage of this. I feel like with this game I’m going to have to make multiple separate scenes to allow me to get the progression across in the way that I imagine.
FPS
With this game I felt as though the original base controller for unity wouldn’t quite work as smoothly as I would like to have my game to be running. So, I decided to create my own controller for the game which, if I wanted too, would allow the use of a gamepad instead of mouse and keyboard. Although for this overall game I felt as though it was a better idea to keep it mouse and keyboard throughout.
Platformer
This piece of script is used to move the actual player itself.
With the coding for this game I used the skills that I learnt throughout the first and seconds years and re-applied some of the lessons we learnt to create a simple movement script for the 2D character as well as sorting out the script for the Cinemachine to work with following the character.
TopDown
This piece of code is used to not only create the bullet but is also used to shoot the bullet out.
Once again I used my previously learnt skills to create these two scripts consisting of a shooting script as well as a movement script were the characters facing will always be the same as the direction of the mouse.
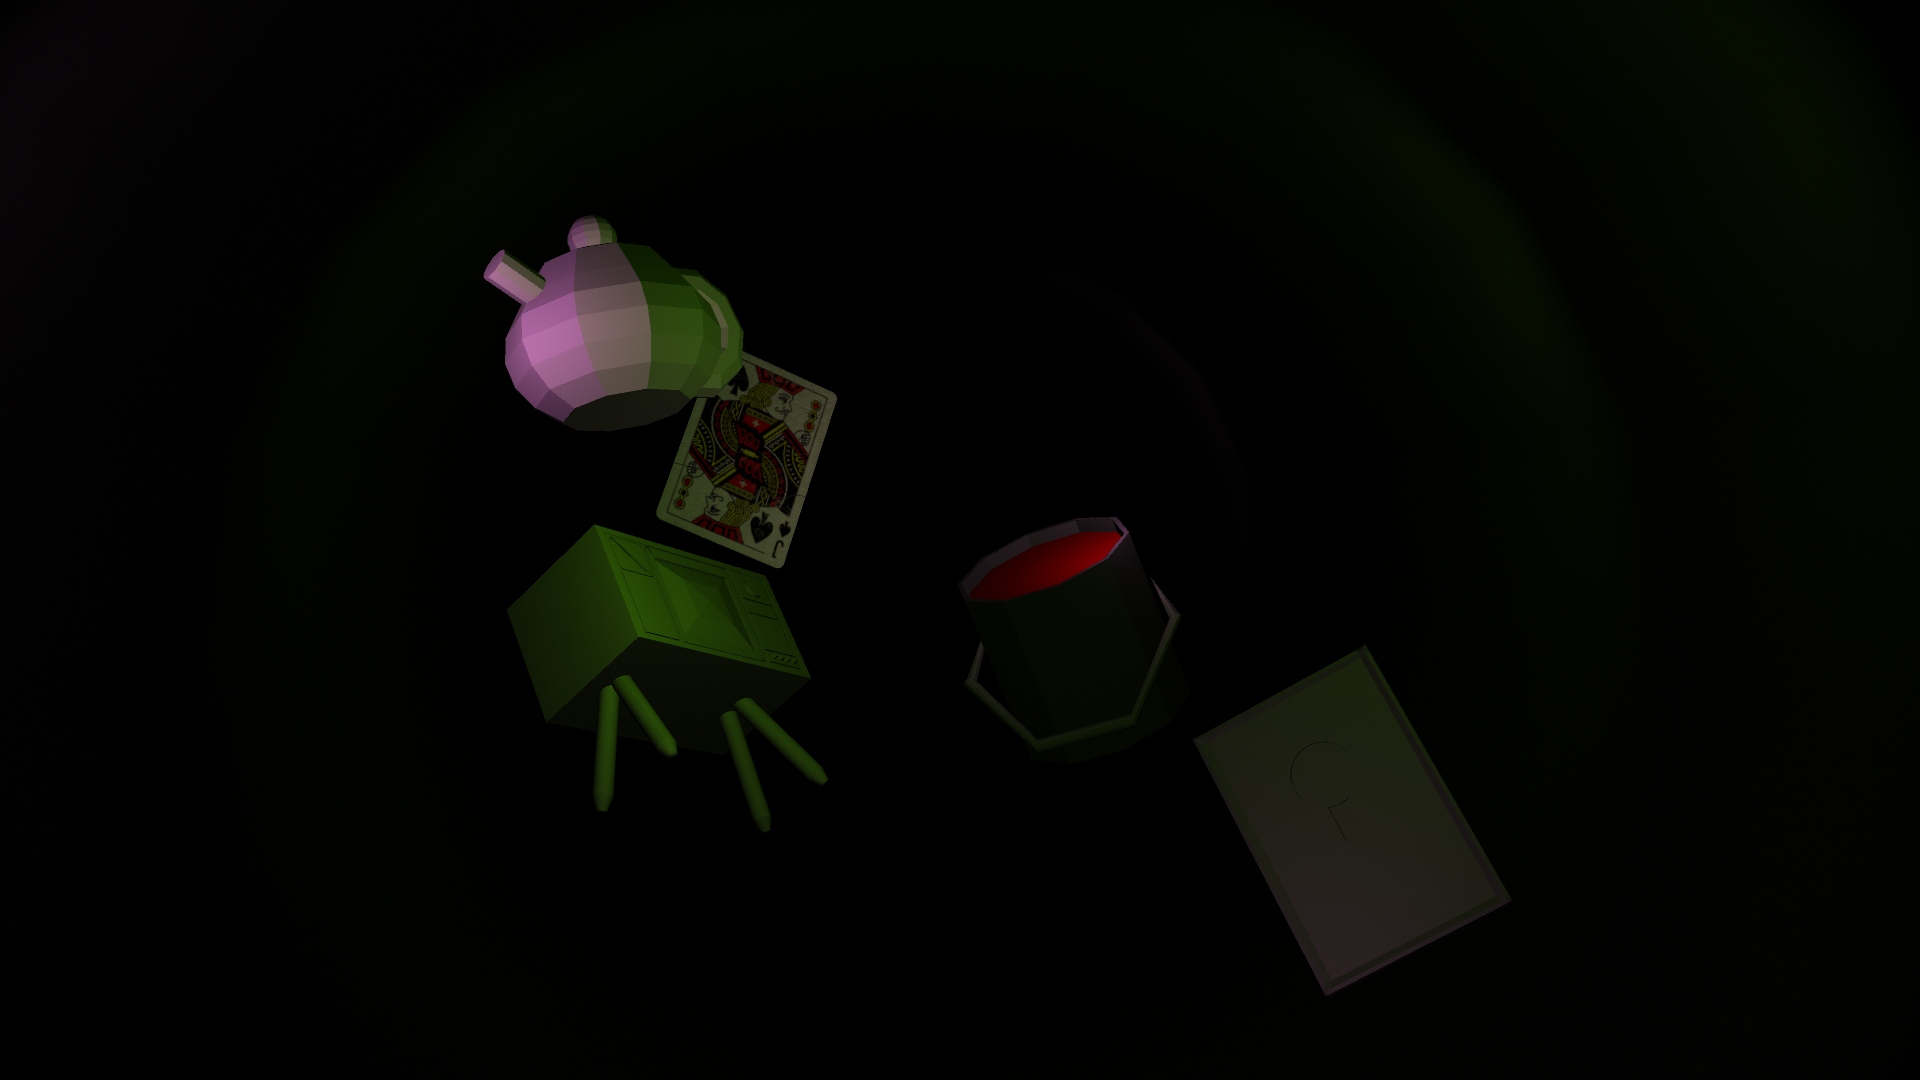
This piece didn’t come out nearly as I originally planed for it too, throughout the entire process I attempted to make sure that scene where as planned by rendering scenes out to see how they would look, this worked out great as it allowed me to evaluate what needed changing and what reached the peak of which I wanted. Although there was one major problem with this, I was using the built in renderer for Maya instead of using Arnold (which was the software that I was told to use for the final render) which was where the problem was.
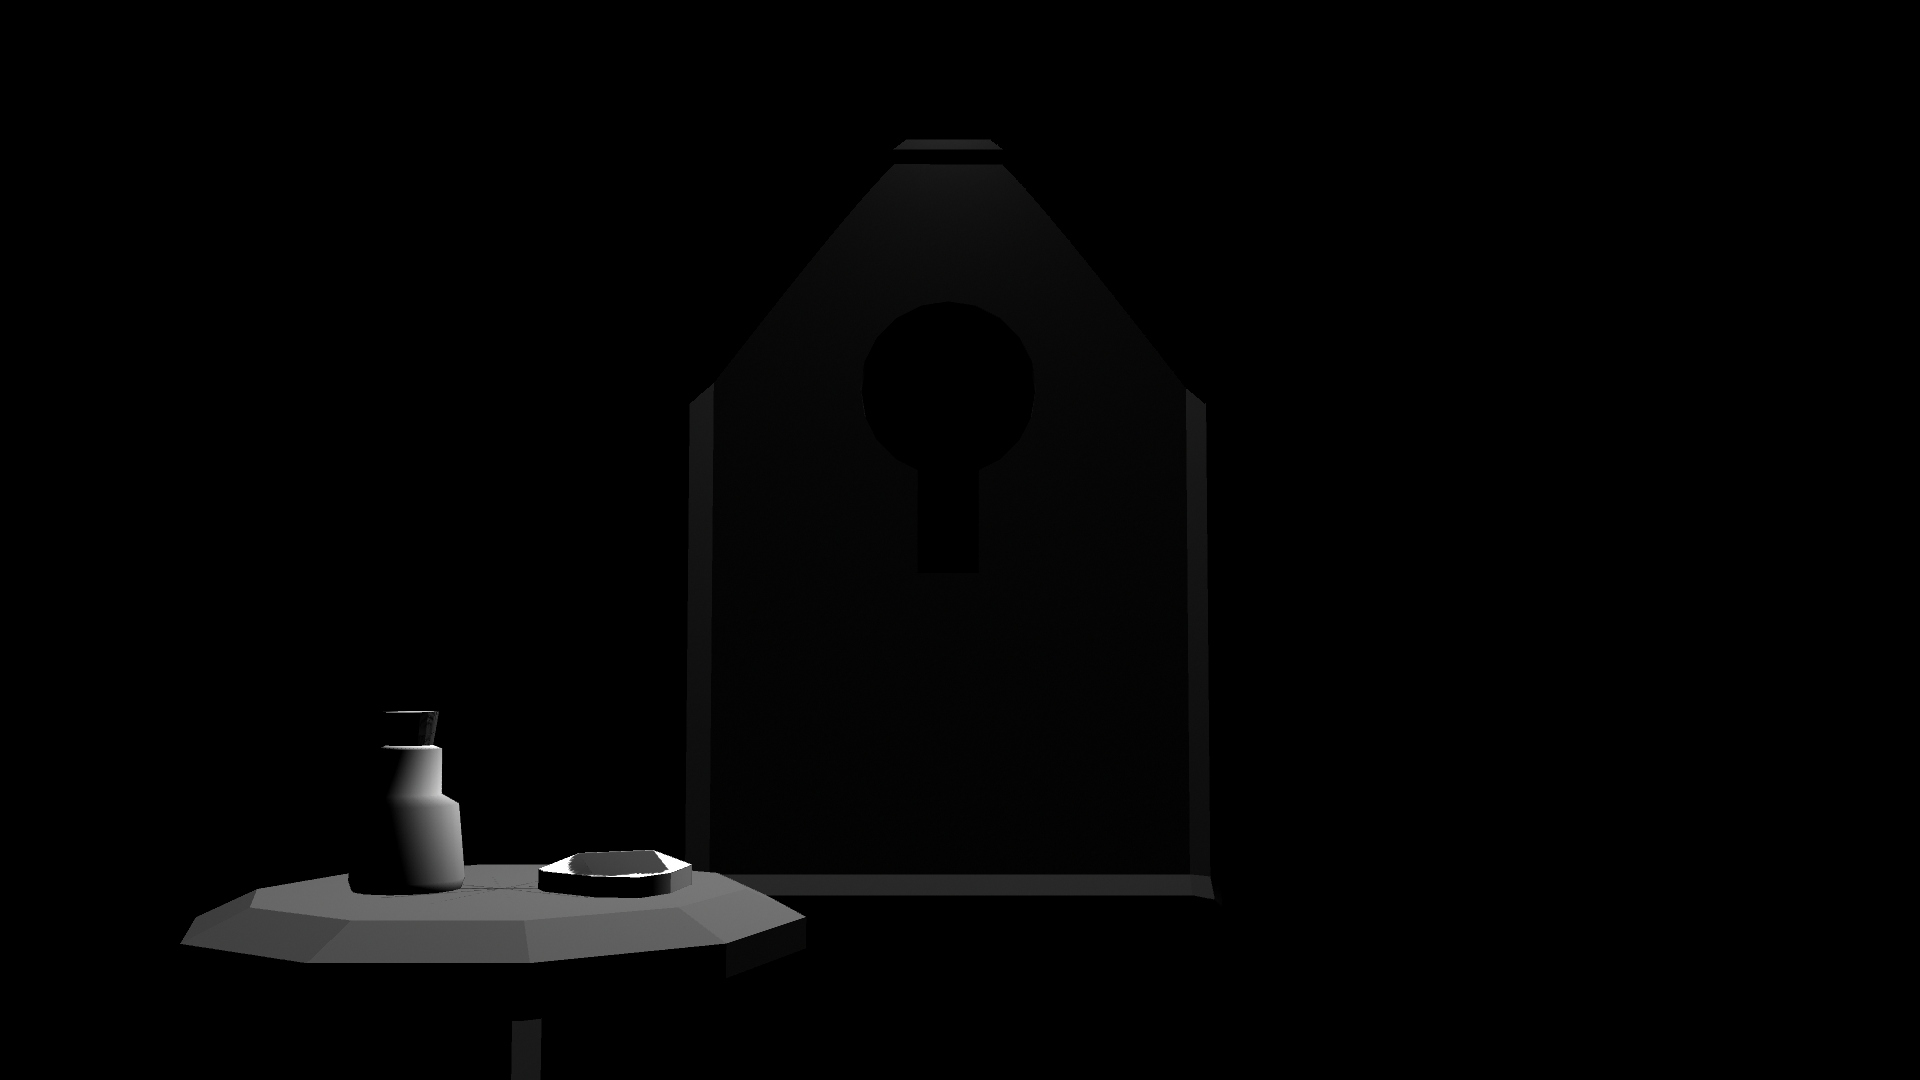
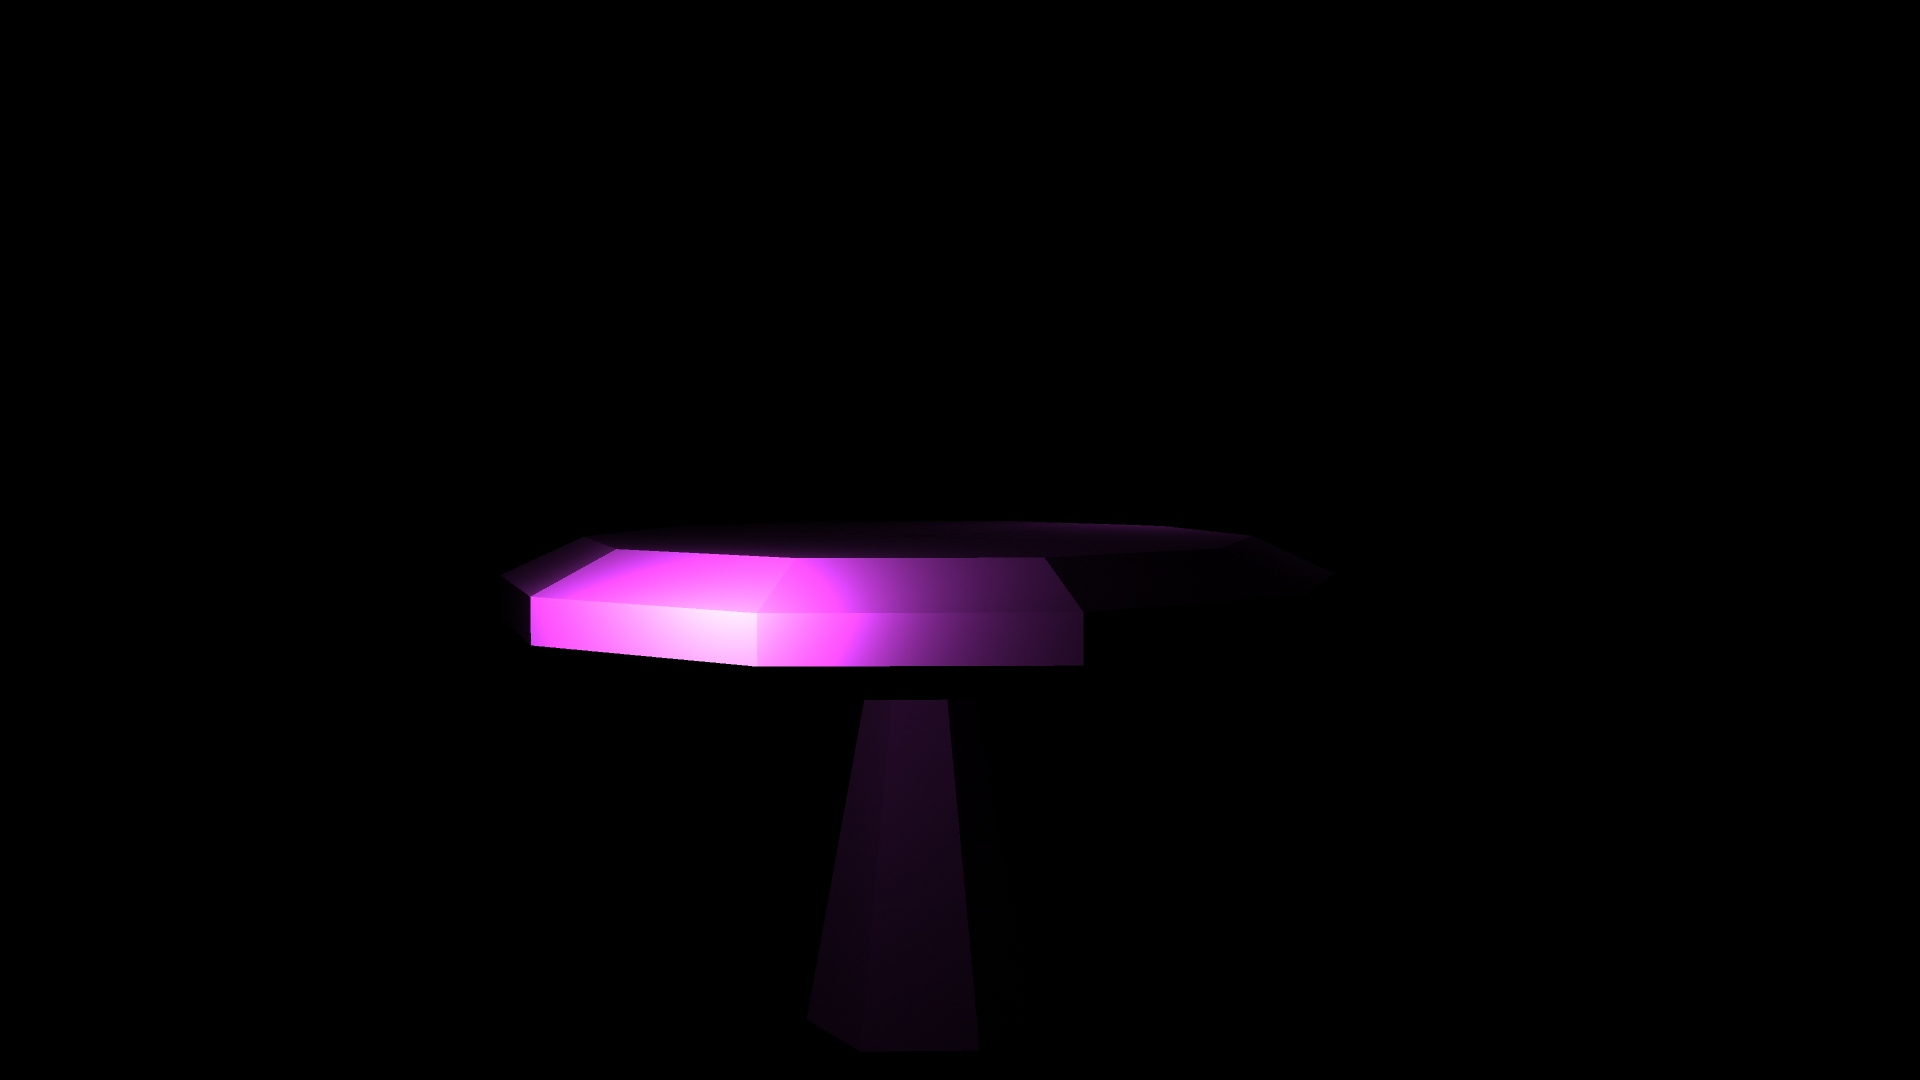
You see, throughout the entire creation of this I was also using the integrated lighting that Maya had, which for some reason isn’t compatible with Arnold Rendering. This meant that come to the final result, I had to try and quickly change out all the lights from ‘Maya Lighting’ to ‘Arnold Lighting’ which was problematic, as with ‘Arnold Lighting’ you need to alter the exposure of the light to allow the camera to see it.
With my resit, I am planning on not only fixing all the lights within the scene but also incorporating a small ball of light that will move around the environment to go and draw the viewers eyes and lead them on the journey they’re going to take. This light will also be used to emphasize the quotes within the scenes as well.
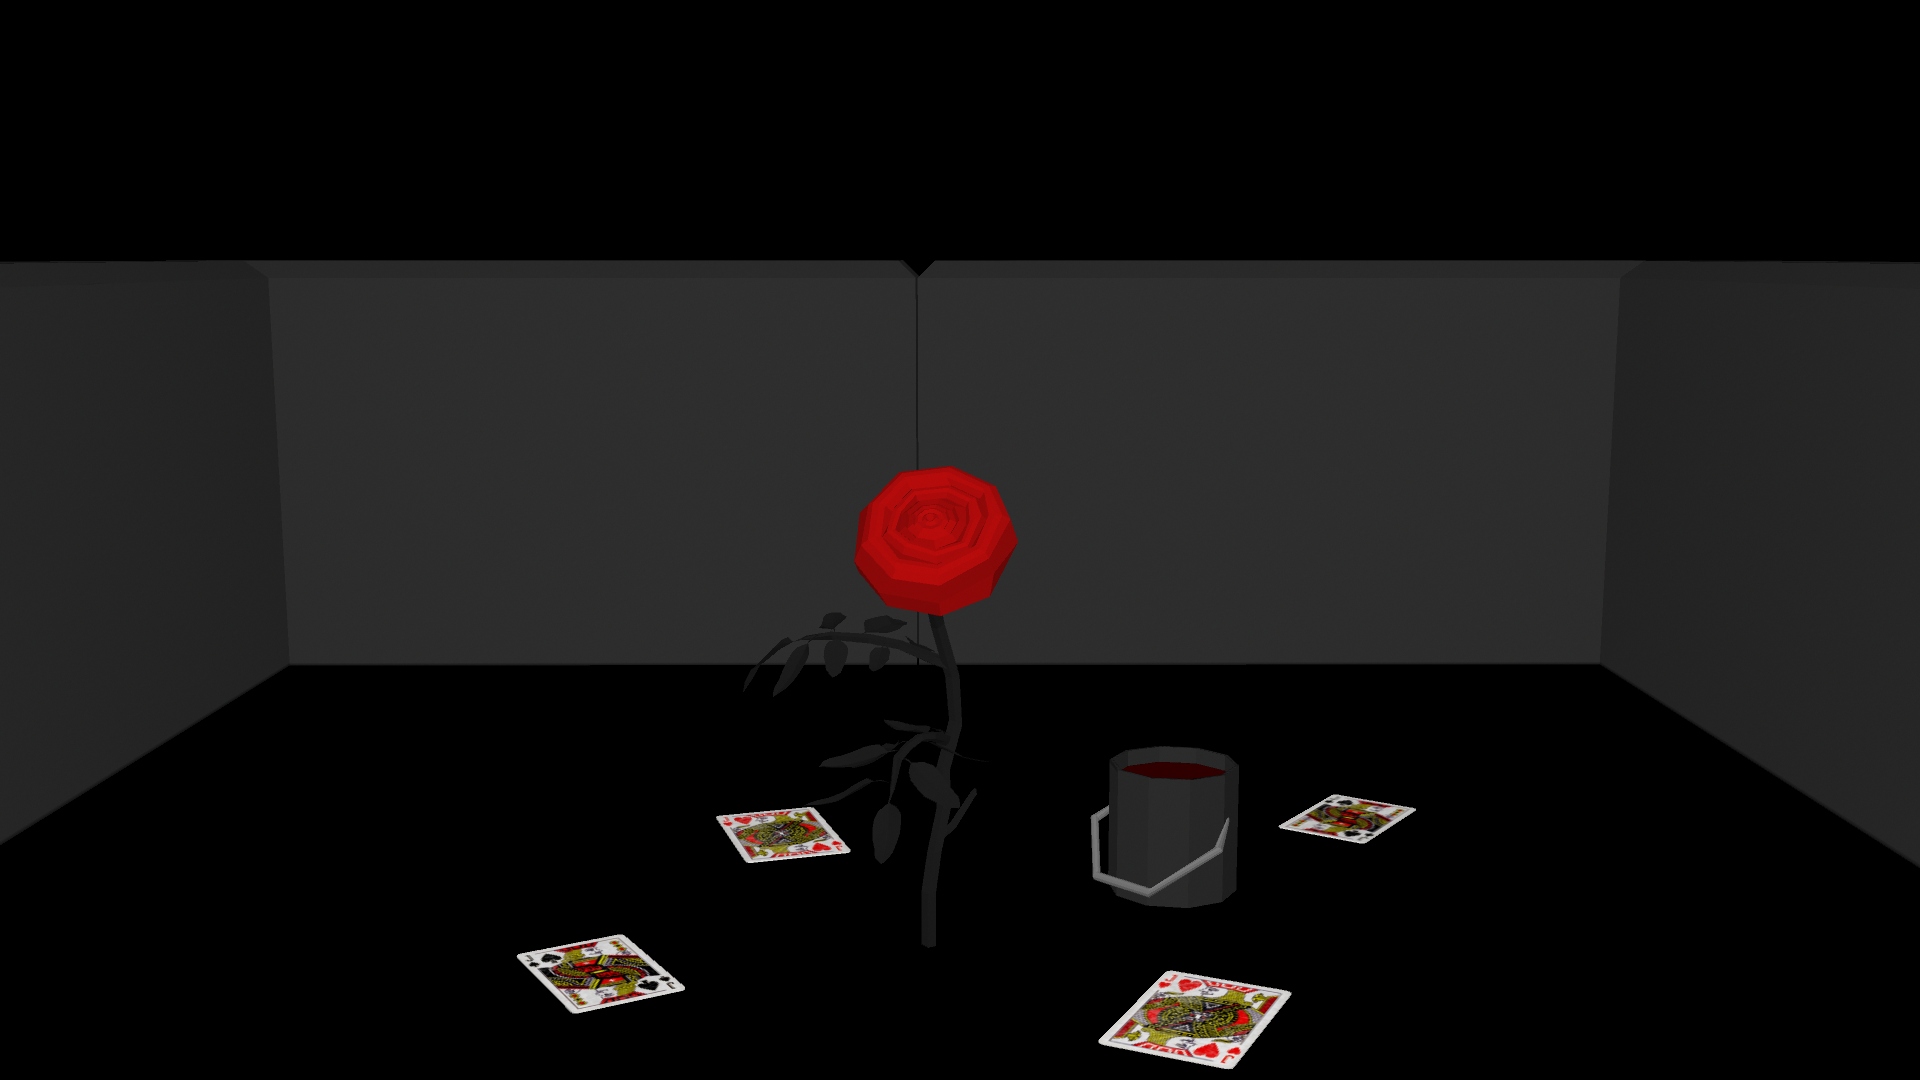
With this render of the animation as I was needing to use a different computer due to my laptop not being strong enough to sort it out. This caused one problem, the material colours that I had sorted out weren’t there anymore so everything is the same material colour. I also wasn’t able to add the light orb, but even without it I feel as though it’s a lot easier to follow where to look due to the quotes from the book that show up in the scenes.
Also after following every step on how to make it work as a VR Video this is how it came out and I don’t know how to fix it.
These are the assets that were created by me to be used in the immersive design assessment. The theme and design that I tried to go for with these models were a low poly stylised look similar to that of the video I referenced. This is in an attempt to try and create a piece that is stylised, this is because in my opinion both games and videos that favour that of a stylised look instead of realism hold up and keep there charm for longer. This is because there is a constant progression when it comes to creating a world and environment that looks real, meaning that pieces that attempted to look real 3-4 years ago now look unrealistic and tacky in comparison to the technology of the present.
The first image that you see within the gallery above this is that of smoke cloud, this would be used as a transition screen after the caterpillar blows it into your face. The second image is a tea pot, this will be placed not only on the mad hatters tea table but also in the tunnel that you go through at the beginning. The third image is that of the red paint, this is once again used in the opening tunnel but is primarily created to be used in the later iconic scene of painting the roses red. The forth image is once again a transitioning effect piece, this is supposed to be tea that splashes into the viewers face after the cup is raised, allowing a seamless transition from the ‘tea time’ scene to the ‘painted rose’ scene. The fifth image is the tea cup that is used at the tea table and is also the tea cup that splashes the viewer. The sixth image is the ‘drink me bottle’ and the ‘eat me biscuit’ these are places on a side table and is used to represent the items that Alice uses to shrink and grow. The seventh image is a oversized mushroom, this is used to hold the smoking caterpillar on and after the transition also perch the Cheshire cat afterwards. The eighth image is that of the lock. this is the lock that protects the room that you enter after the tunnel to wonderland itself. Lastly the ninth image is a silhouette of the mad hatter himself, which is used in the ‘tea time’ scene to assist with the viewer understanding which part of the story there were up to.
This first scene consists of you traveling down the hole. Items flying past you as you continue down it, the lights being purple and green to mimic that psychedelic feel that the original movie tried to incorporate.
This second scene is that of the drink me potion and the eat me cookie, these placed on the table with the locked door in front of the viewer. The transition between this scene and the following scene would be inspired once again by the original movie, with her tears filling up the room an the waves taking the viewer through the lock.
This next scene consists of the mushroom that would have the caterpillar on it, smoking away. This would then transition into the caterpillar blowing smoke in the viewers face and being replaced by the Cheshire cat who would disappear after the viewer hears a boiling kettle from behind them, henceforth prompting them to turn around.
Once turned around, the viewer would see a table with a teapot, tea cup and the mad hatter at the other end of the table. This would then continue into the next scene by the tea cup being drunk from and the tea splashing on the viewers face.
Once the tea had gone the viewer would be greeted with a red rose and a paint bucket with multiple playing cards on the floor representing the iconic painting the roses red scene from the original movie.
The Queen of hearts would then appear above the hedge and be beheaded by a pair of scissors. This piece of cut off card would then fall down onto the viewer the screen going black and the sequence complete.
Disney (2020) Cheshire Cat [Digital Art] Available online at: https://www.pinterest.ca/pin/588353138794078871/
ClipartMax (2018) Alice Tale Character Fairy Fantasy In Wonderland Caterpillar – Caterpillar Alice In Wonderland Ornament [Digital Art] Available online at: https://www.clipartmax.com/middle/m2H7d3i8K9A0b1H7_alice-tale-character-fairy-fantasy-in-wonderland-caterpillar-caterpillar-alice-in-wonderland/
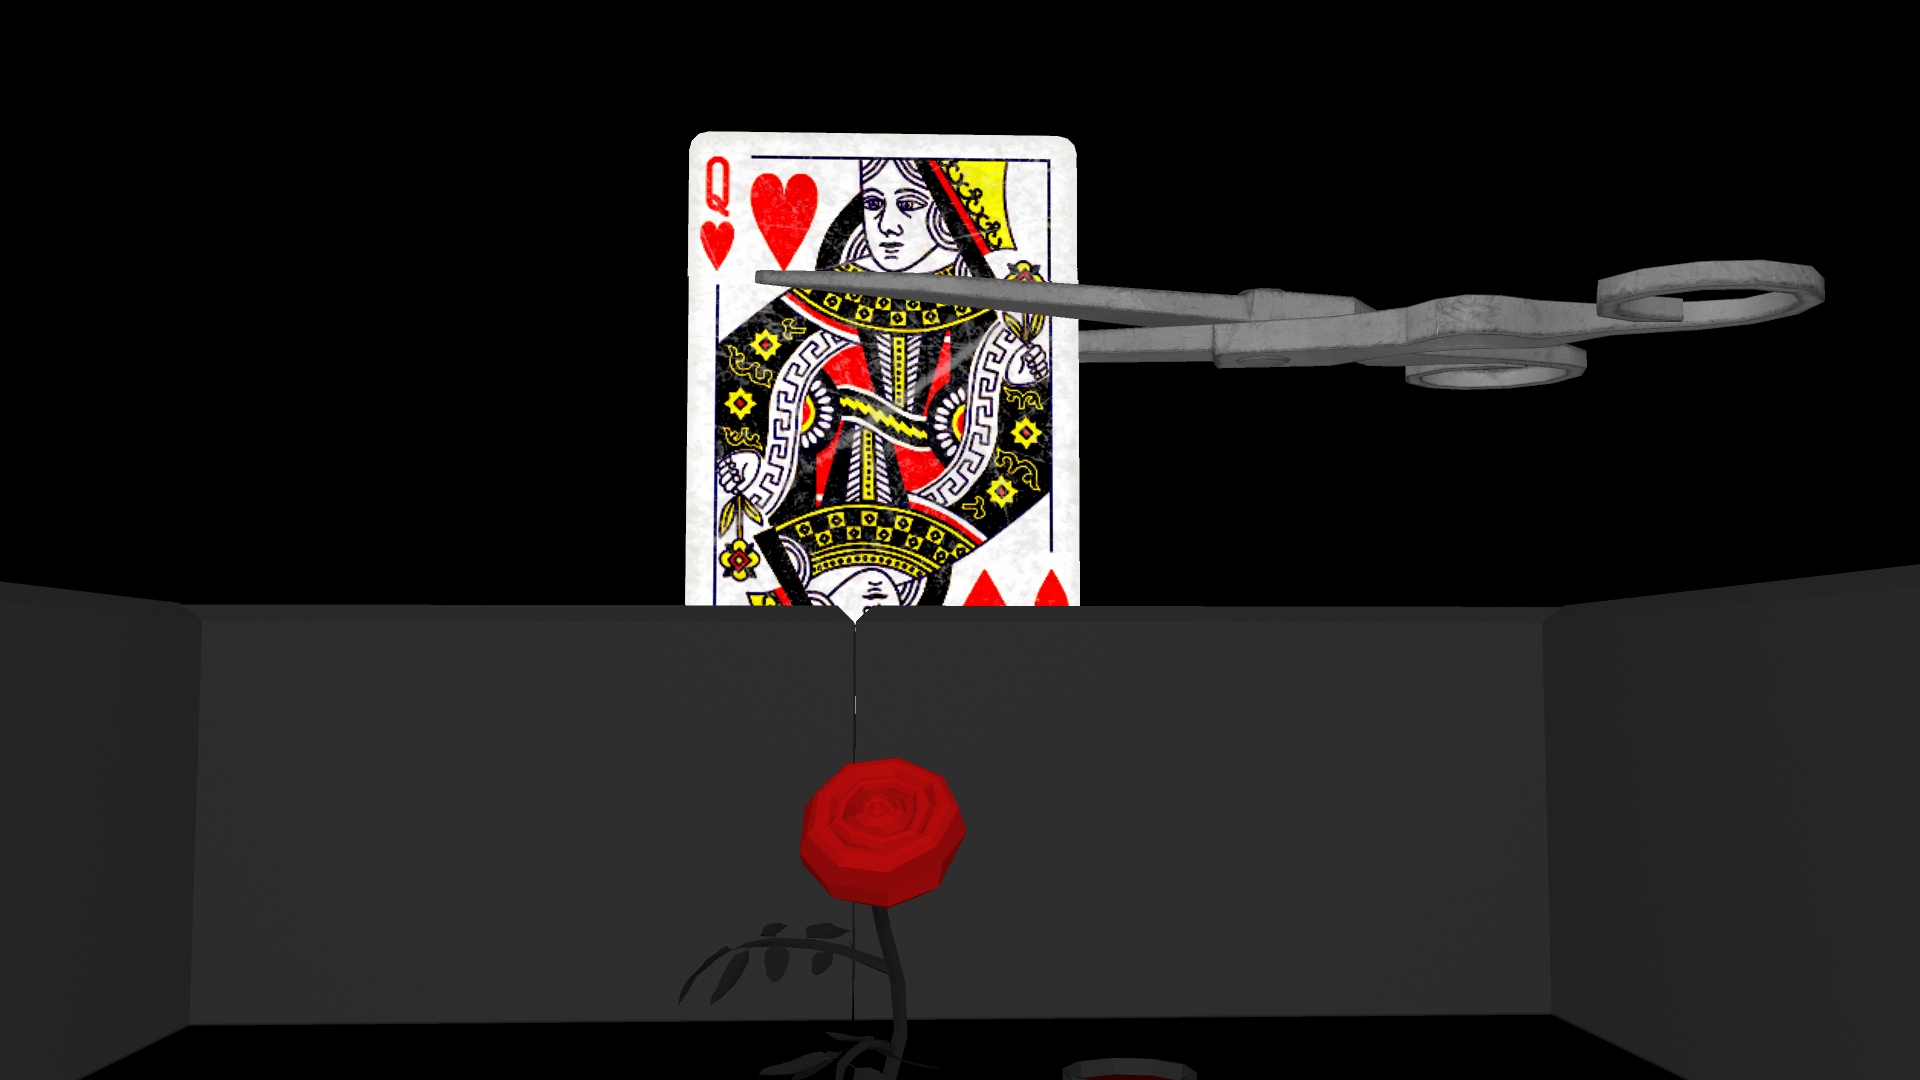
Chellew (2019) Medieval scissors [3D Model] Available online at: https://sketchfab.com/3d-models/medieval-scissors-14023ed7bc1344319c5fd906b840b03d
Esteban Dln (2018) Low-Poly Rose [3D Model] Available online at: https://sketchfab.com/3d-models/low-poly-rose-d526e8beceba4fbc81595721fff3954c
DudleyLong (2023) Playing Cards [3D Model] Available online at: https://sketchfab.com/3d-models/playing-cards-793274af15df4f20848d83ab6d127493