Categories
Level Design

Creating the Level

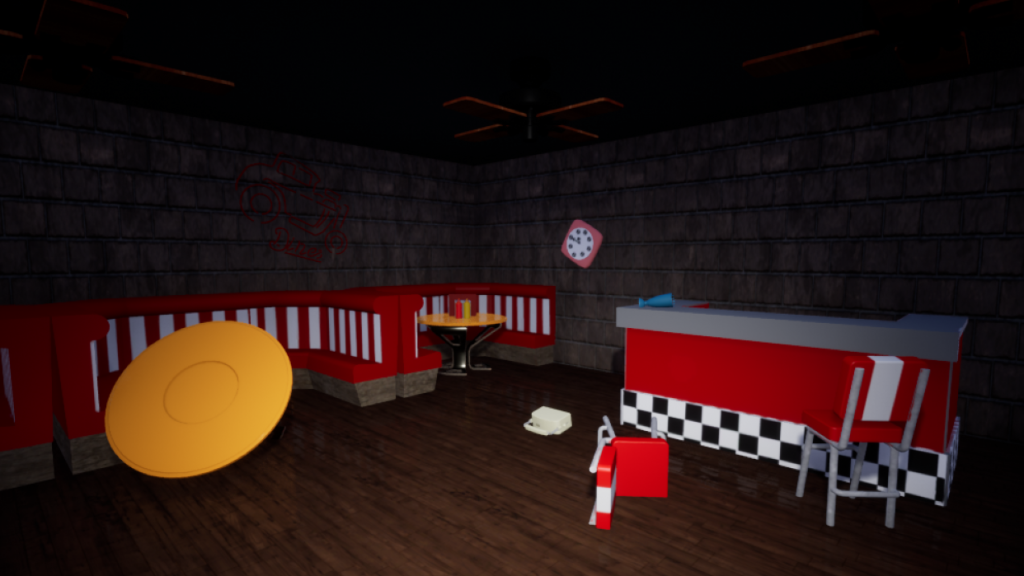
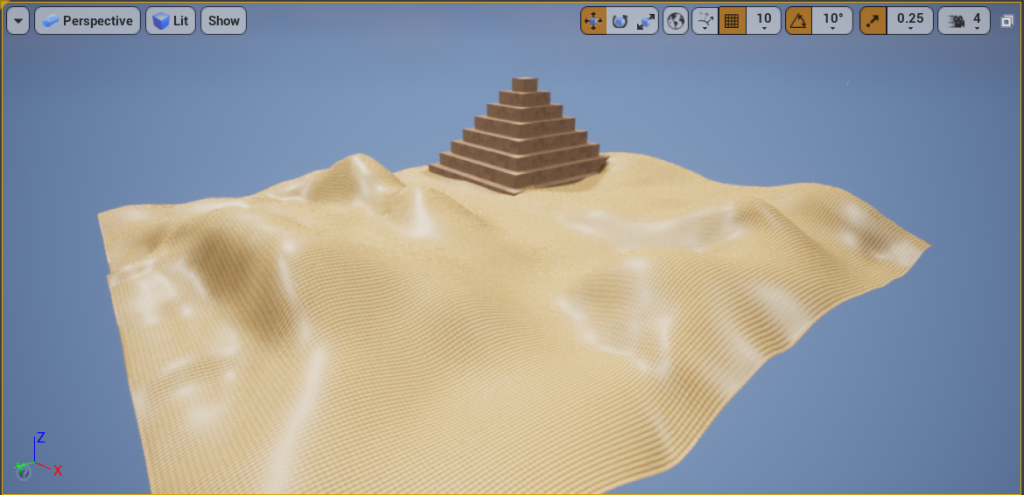
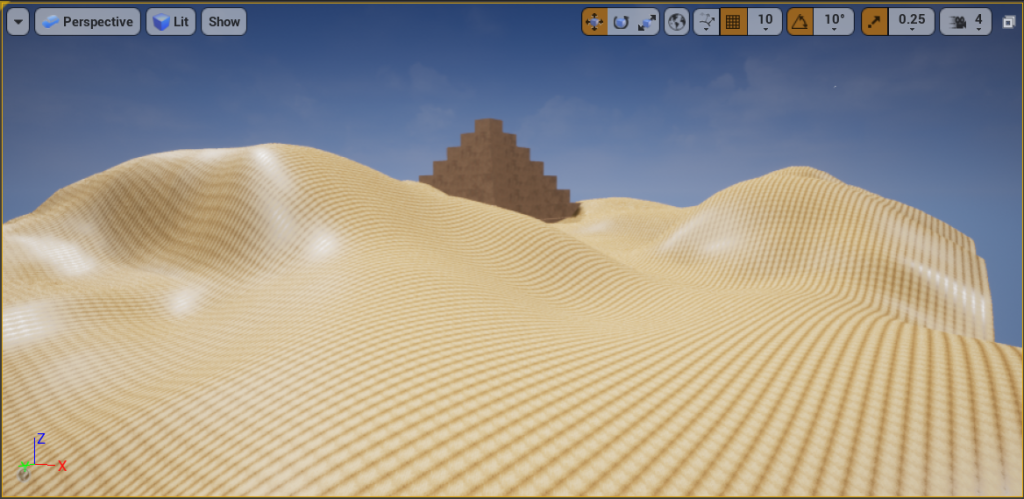
To start off I shall talk about the level itself. I’m not the happiest about it but there’s been quite a few things going on that has caused issues for completing it. I have tried to create a horror level which would be based about midway through the game, this part would come shortly after a chase sequence and then the killer/monster would be seen again during this part of the level (Shortly after entering the air conducts). As I’m writing this I’ve currently only have to add sound, the ending to the level and change the item in his hand from a gun to something else.

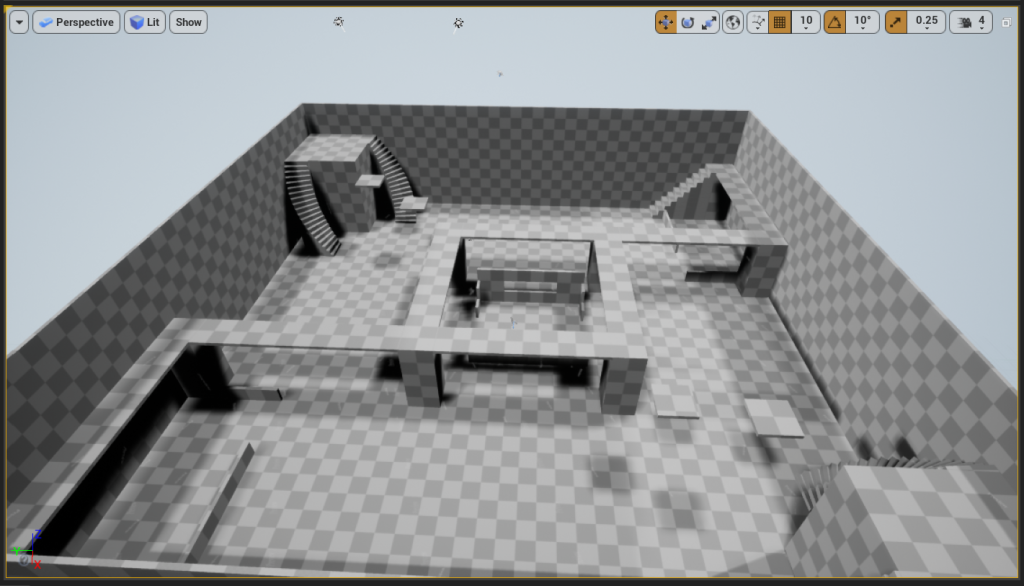
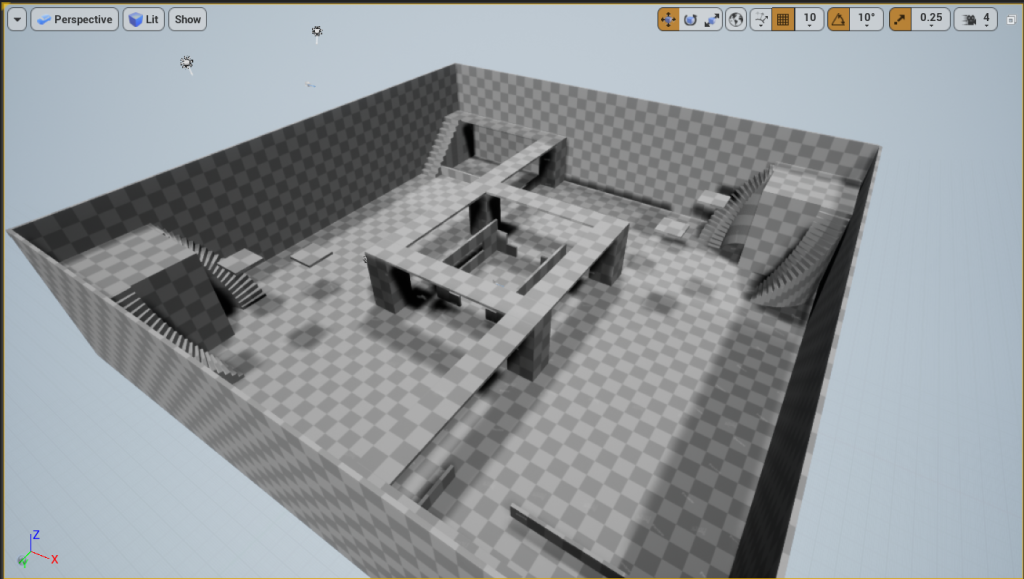
I’ve done some level testing with two other people, they’ve come across a couple of bugs that I can’t seem to fix. Which consist of clipping through objects. Sometimes for no reason with no exact thing causing it you’ll occasionally clip through the air vents and also you can clip through the roof in the first room by making it around the rubble.

I’ve tried to fix the issue but from multiple tests I’m still unsure of what causes it.

I’ve added a filter on top of it that allows the game to have the PS1 horror game vibe to it.

I’ve currently accidently destroyed the character model and can’t find any way to fix it. I thought removing the gun and arms would just consist of deleting the mesh but in doing so has caused about 5 issues when it comes to the coding side of things that I can’t seem to fix no matter what I do. And all it keeps telling me is “Target must have a connection” which I don’t understand in the slightest.

I managed to rename the file and import another fps content pack which came with a first person bp. I then opened up the blueprint on that and changed it so that the mesh’s were still there but were invisible and replaced the gun firing sound with no sound.

I then tried to add sound to the game whilst watching a video but no matter what I did it wouldn’t allow me to add it as an audio file. Whenever I added it to unreal it would look like this and not function as a audio file.

So I went onto the last part necessary for it which was to add a end to the level. This didn’t go well as the character model decided to mess up again and the game was now unplayable and I was already over by 3 days and was about to have another mental breakdown if I continued on this level so decided to just add the file of the game and blog to the assignment instead. Sorry Stuart.

Categories
3D Character Model

Character Idea (Character)

This is my character, her name is Dasar Woodcrest. She is a half angel, half succubus who is in the middle of being chased down by both parts of her race.

Although she’s being hunted by her own races she still cares for her parents and traditions, these are shown in both her clothing and her armour. The clothing follows the colour scheme of her demonic side following the red and black scheme. And the armour of the gauntlets carry the crest of her mothers family tree on them as a hand me down before she passed. Lastly her eyes are a deep amber showing the clash between the deep red/brown of the demonic side of her and the ethereal blue/white side of the angelic side.

(From Padlet)

Gender: Female
This character is intended for games but would also be well suited for books.
Backstory: Dasar was a half breed, a mixture between two races. Those two races being a succubus and an angel. She could willing change the form which was shown on the outside, from her succubus side which consisted of a blistering red skin and short stumpy horns, to her angel side with perfect skin and a platinum white hair. No matter how hard she tried she wasn’t liked be either race, somehow they always ended up finding out about the other side of her. Eventually she ended up resorting to adventuring to find people she could rely on going from town to town, village to village recruiting and befriending people of power slowly building up favours in case any of the races she used to call her own decided to come after her. 
The Style: My character would technically have three different styles, an angel form, a demon (succubus) form and finally a fallen angel form which would trigger at certain points linking to her emotions. 
  – Angel: In this form she would have fair pale skin, a platinum white hair and rich amber eyes. As the world she is in is a medieval fantasy-esk world she would be wearing a leather tunic with either half plate under that or leather armour over the top of it. 
  – Demon (Succubus): In this form her hair would change to a deep black, her skin from this pale white to a crimson red, two short horns protruding from her head and two small demonic wings sprouting from her back. Her eyes would darken into a light red. She would be more likely than not be wearing the same armour and clothing unless she was trying to charm or seduce someone. 
  – Fallen: This from wouldn’t trigger unless she was angered to a state of pure rage, or distraught to the point where her emotions are conflicting too much. In this form her skin would turn into an ashy grey colour, her eyes would become devoid of light and becoming pools of darkness, two long wings will sprout from her back, one purely made of bones which is being held together by necrotic energy, and a normal succubus wing.  

Categories
3D Character Model

Adding more detail and Painting (Character)

This was the last session that I did on my piece. I started off by first adding all the fine detail to the clothing with the hemps on the corners and also adding a belt with ornate metal tips. Also adding the details to the shoes and some very fine lines on the legging to show texturing. I sadly didn’t end up adding the metal gloves due to time restraints and issues that arose during Christmas where my computer physically wouldn’t let me open the files expressing that it ended up having an error.

I did end up running into some issues with the main chest piece and leggings were whenever I went and dynameshed then above there original 128 pixels it would cause them to split slightly and cause a really weird effect to happen that would break the mesh.

I ended up colour checking all of the colours based off of the character art piece I created before hand. This allowed me to be as accurate as I could be with my colours.

Categories
3D Character Model

Adding Clothing (Character)

Within this session I added the clothing to her by adding a mask over the top of her and then extruding the mask to turn into clothing. With making her dress/skirt I also extruded the bottom of it allowing it to have a flow at the bottom. After moving parts around and making it look more natural I ended up adding the scale mail to the arms by using a pre-made scale brush, which was suggested to me in one of the lab sessions.

Categories
3D Character Model

Adding Details (Character)

This session I wanted to merge all of the blockout together and start adding detail to it and making it look more like a body by using references of human anatomy to make sure that both my proportions were right and so were my detailing.

Adding the detail to the body wasn’t very difficult as I mainly used the clay build up to make muscle and then smoothed over the top of it. Although what I did have issues was with the face as you can tell from the three different variations. At first I ended up making the nose to big and then forgot to fix the bridge of the nose after shrinking it down. Although I am actually happy with it now. Although I did something that I already regret which is that I merged the eyes into the rest of the body and then dynameshed. I thought it was good at first but after I did more work on it I have regretted my decisions but can’t go back as I’ve done too much work on it.

Categories
3D Character Model

Block-out Character (Character)

This session I worked hard on trying to get a base block-out made for my character. I originally attempted to create it out of z-spheres but after about half an hour of attempts I decided to try it a different way. I decided to look up way on how to make blockouts and ended up following a guide to eventually create my blockout character.

I ended up making a lot of it by expanding and shaping spheres to the correct length and once I had done one side “Mirror and Weld” was what I used to make sure that I had it perfectly mirrored on both sides.

Categories
3D Character Model

Hard Surface Modelling

In this lab session I went and created one of the assets that will be used in my final piece. The item that I created was that of a magic artifact/cube. I looked at multiple reference images with a lot of them normally consisting of having some sort of runic paten on them and some of them had pieces coming out of them almost like a puzzle cube.

I tried to incorporate all of them in my end product by extruding multiple parts of the cube dragging both in and out of the cube so in turn both adding and taking away from it. The image I had in my head was that if the piece was to be animated and all of the different pieces would be constantly moving around almost as if it was trying to unlock.

When I add color to this I am intending to make the material of the cube to look like stone with a purple glow from the holes and around the crevasses.

Categories
Level Design

My Scene

This is the scene that I’ve chosen to create, I wanted to leave it opened ended with what might have caused the scene to happen. But roughly stated it is a 60s Milkshake Dinner that’s been wrecked.

Categories
Level Design

First try at an environment

This was my first attempt at trying to create an environment within unreal engine. After seeing that a lot of hand ins were of forests or hilly meadows I decided to create a dessert instead with the weenie being the pyramid in the background that you can see over the sand dunes.

One issue I did have was the inability of having a sand texture to use as all I had was a sandstone texture instead. I then tried creating a sand texture from an image I found which didn’t go great.

Categories
Level Design

First Attempt at a Blockout

I first started off by watching the videos on canvas, these helped me to understand the basics of unreal and allow me to complete the task at hand. After fiddling around in the software a little bit I started on the actual creation of the map. The idea behind it was a small battle map that you’d see in games such as halo and splitgate. I saw this map quite easily being used a capture the flag kind of arena.

As you can see from the images the map has a lot of high vantage points but also quite a few ground floor interactions as well to help keep the player engaged whilst playing it. It has two bases at each corner as well as two vantage points in the other corners which can assist in leading you to the middle platform.