Categories
3D Character Model

Character Idea (Character)

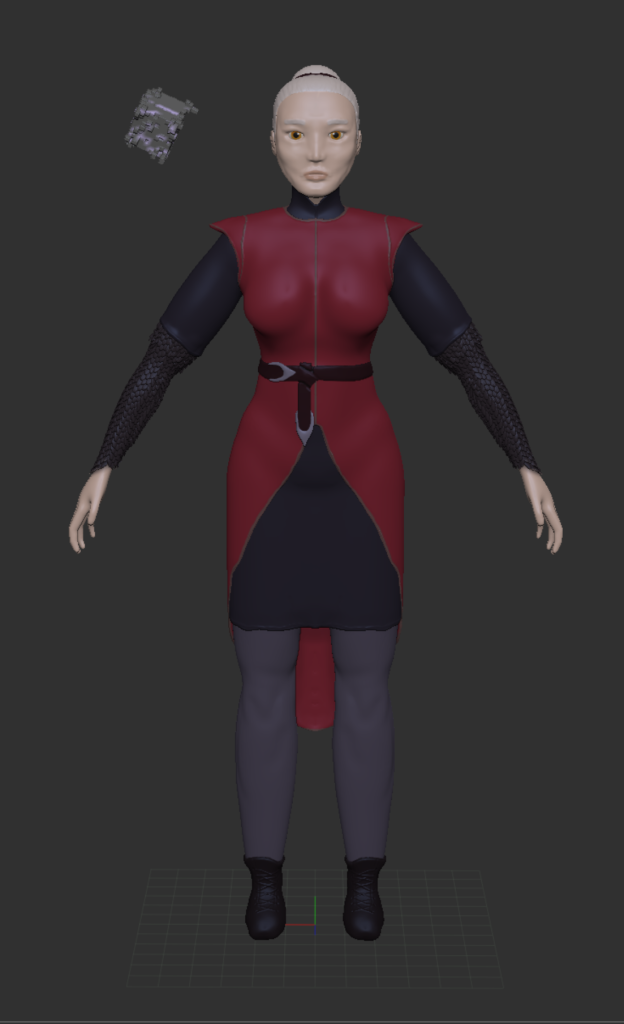
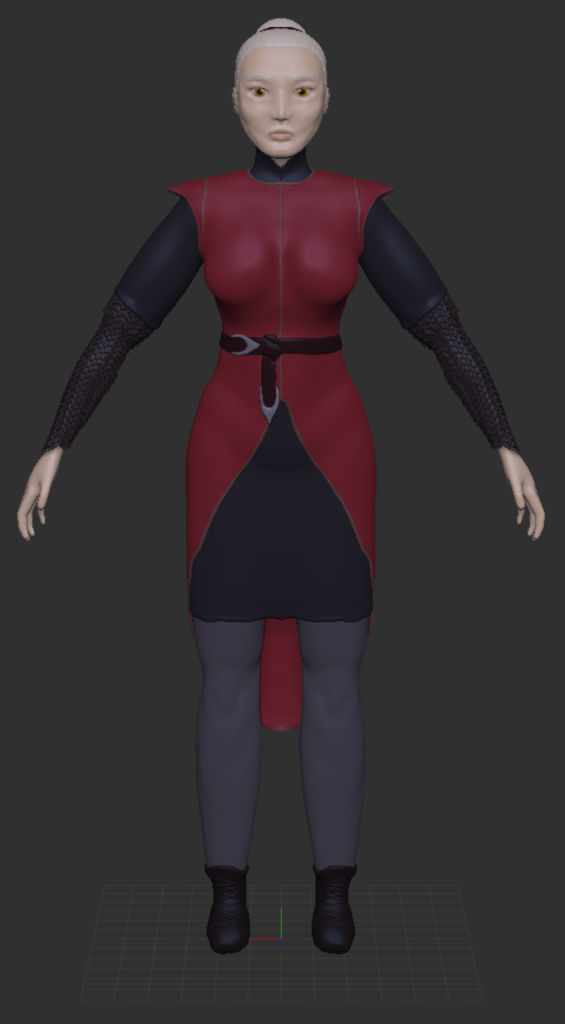
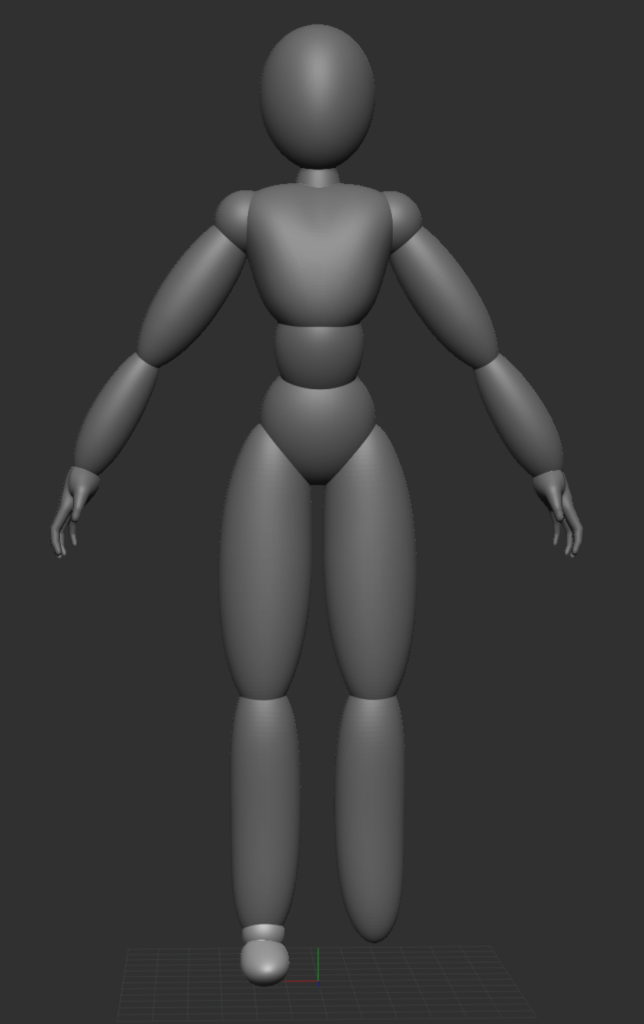
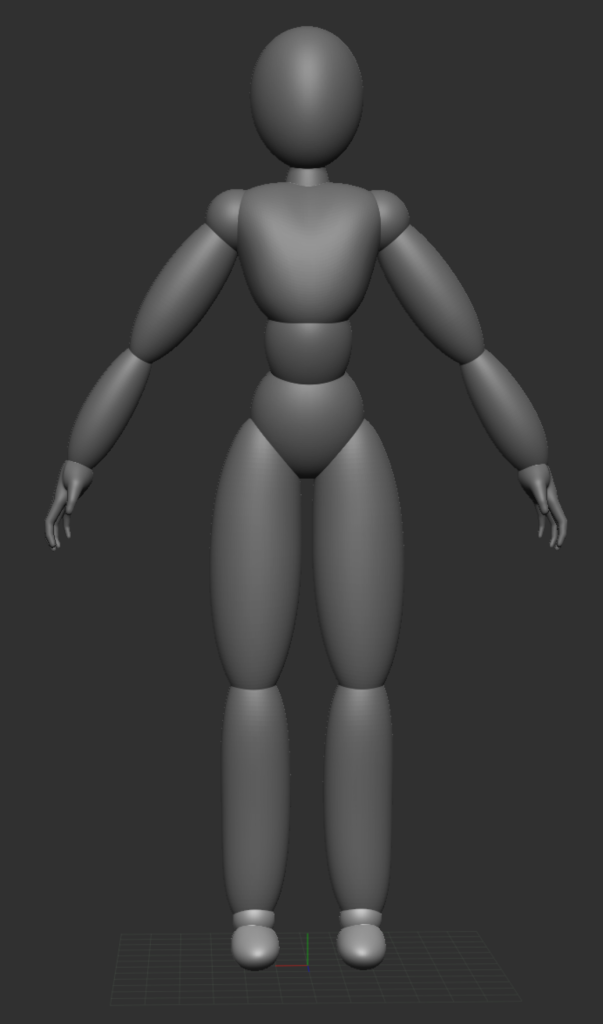
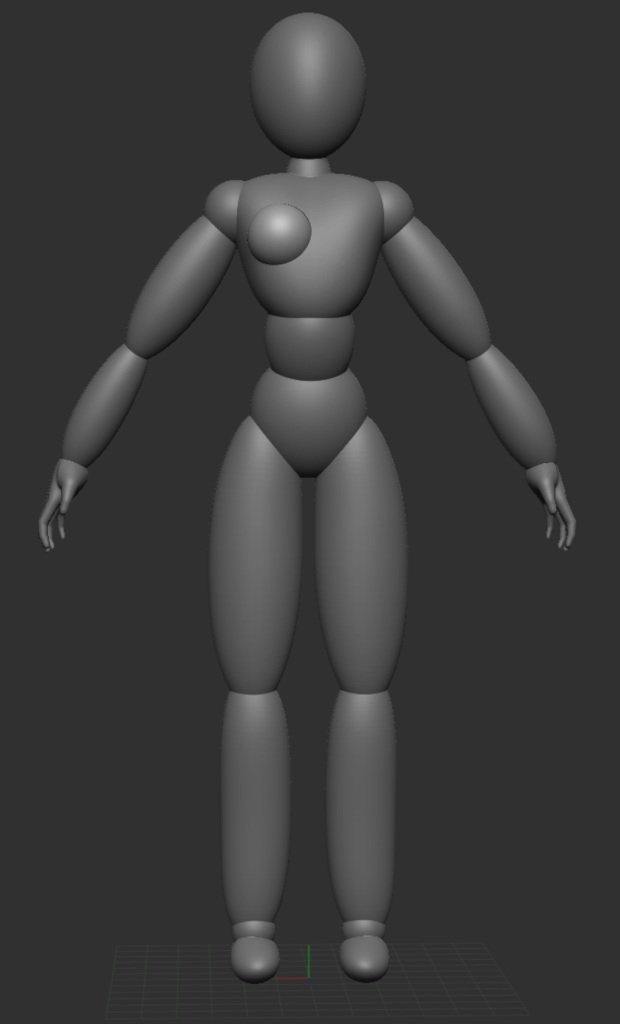
This is my character, her name is Dasar Woodcrest. She is a half angel, half succubus who is in the middle of being chased down by both parts of her race.

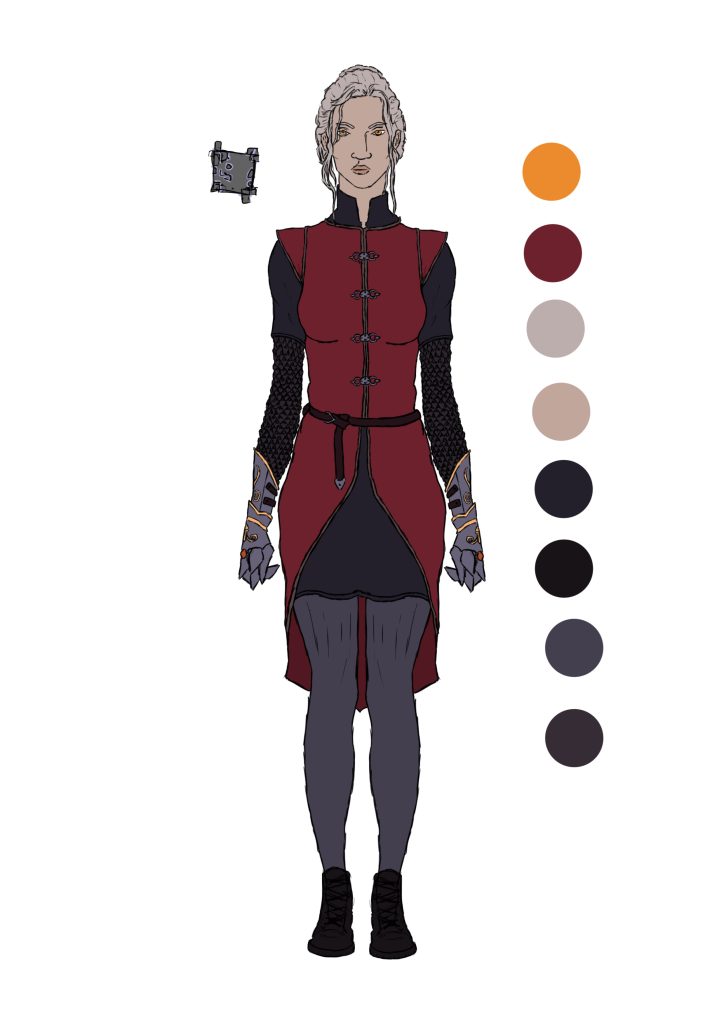
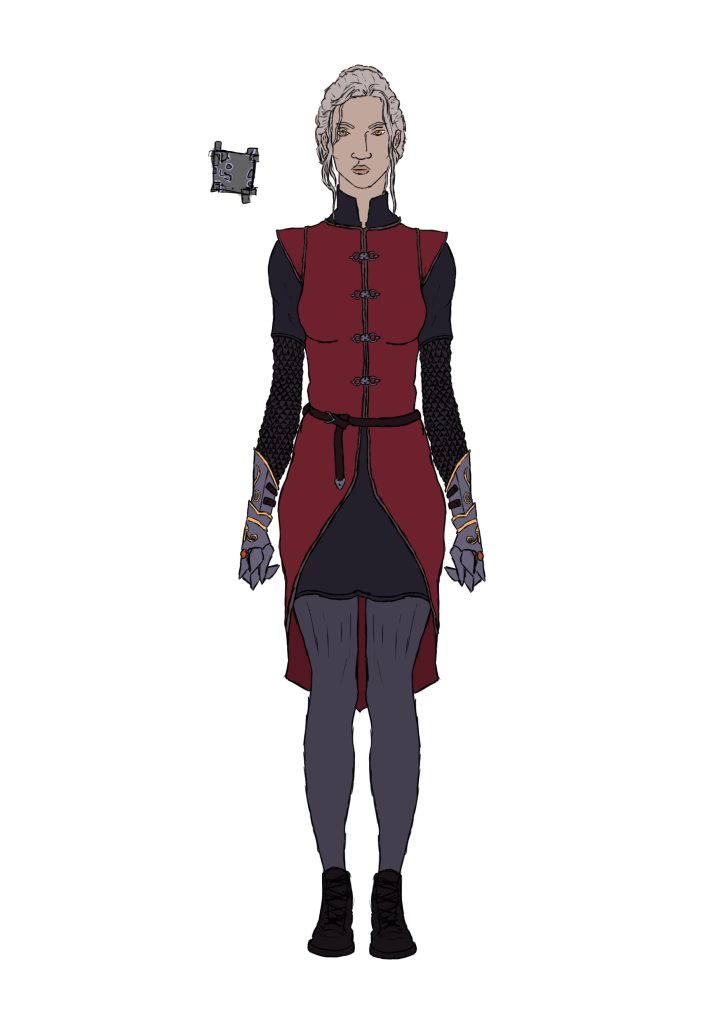
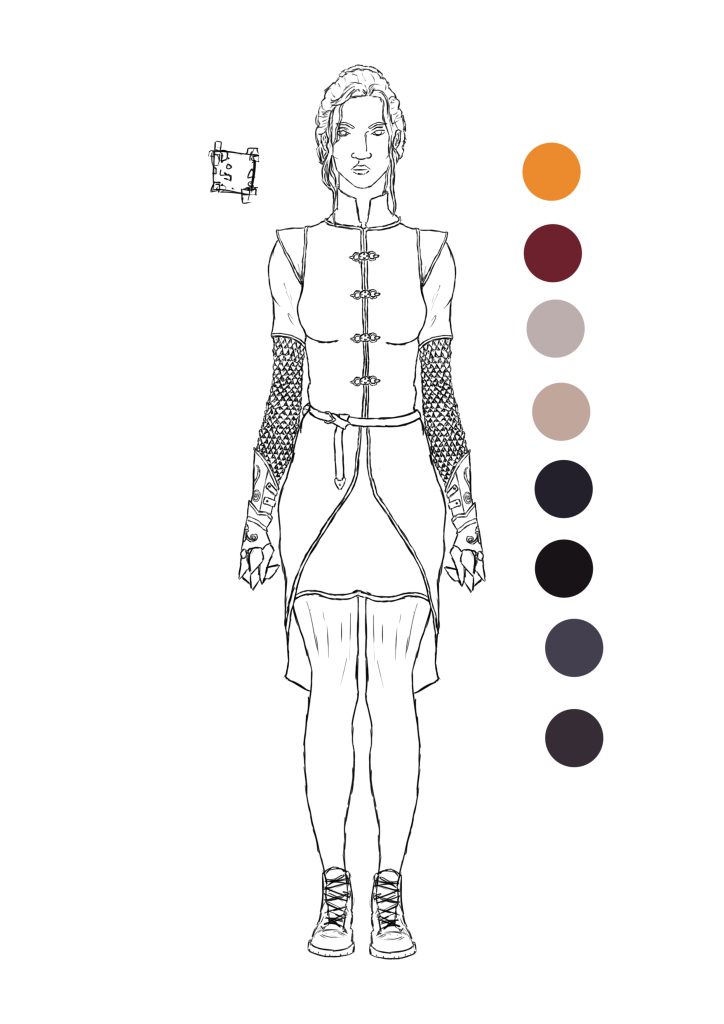
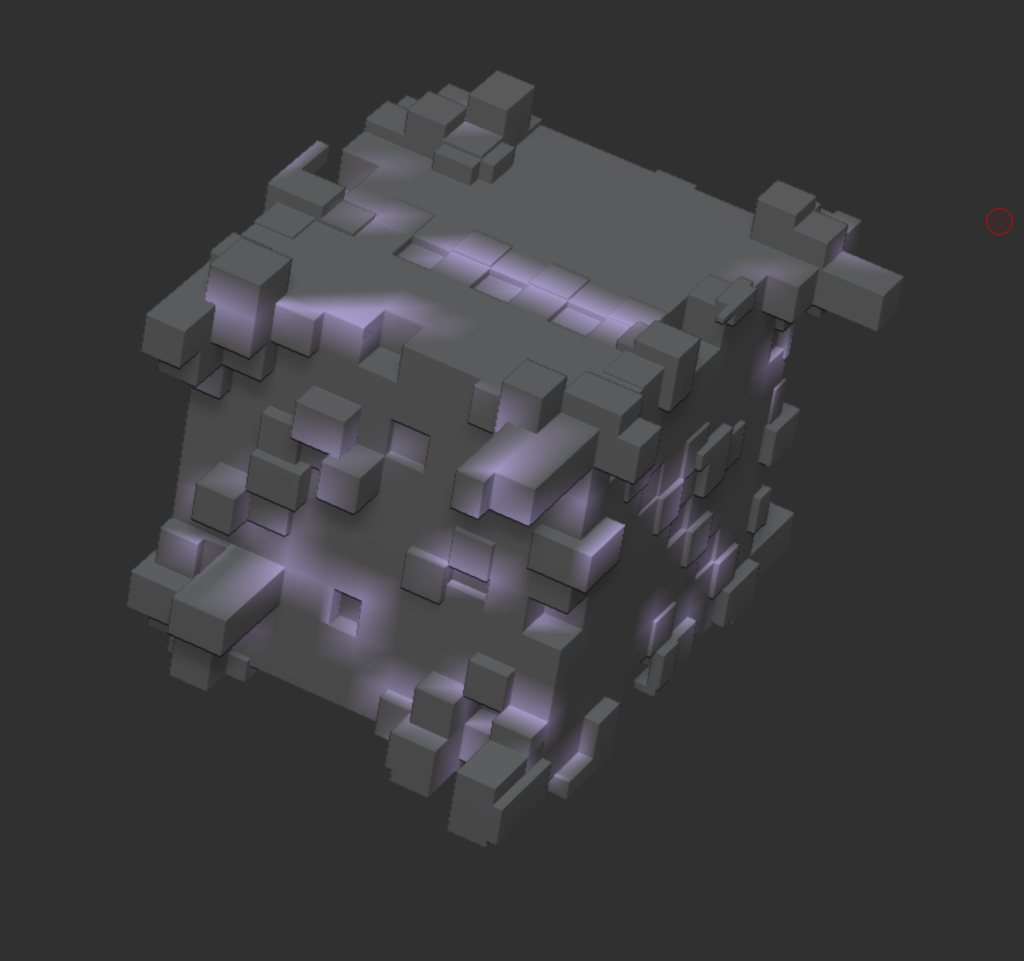
Although she’s being hunted by her own races she still cares for her parents and traditions, these are shown in both her clothing and her armour. The clothing follows the colour scheme of her demonic side following the red and black scheme. And the armour of the gauntlets carry the crest of her mothers family tree on them as a hand me down before she passed. Lastly her eyes are a deep amber showing the clash between the deep red/brown of the demonic side of her and the ethereal blue/white side of the angelic side.

(From Padlet)

Gender: Female
This character is intended for games but would also be well suited for books.
Backstory: Dasar was a half breed, a mixture between two races. Those two races being a succubus and an angel. She could willing change the form which was shown on the outside, from her succubus side which consisted of a blistering red skin and short stumpy horns, to her angel side with perfect skin and a platinum white hair. No matter how hard she tried she wasn’t liked be either race, somehow they always ended up finding out about the other side of her. Eventually she ended up resorting to adventuring to find people she could rely on going from town to town, village to village recruiting and befriending people of power slowly building up favours in case any of the races she used to call her own decided to come after her. 
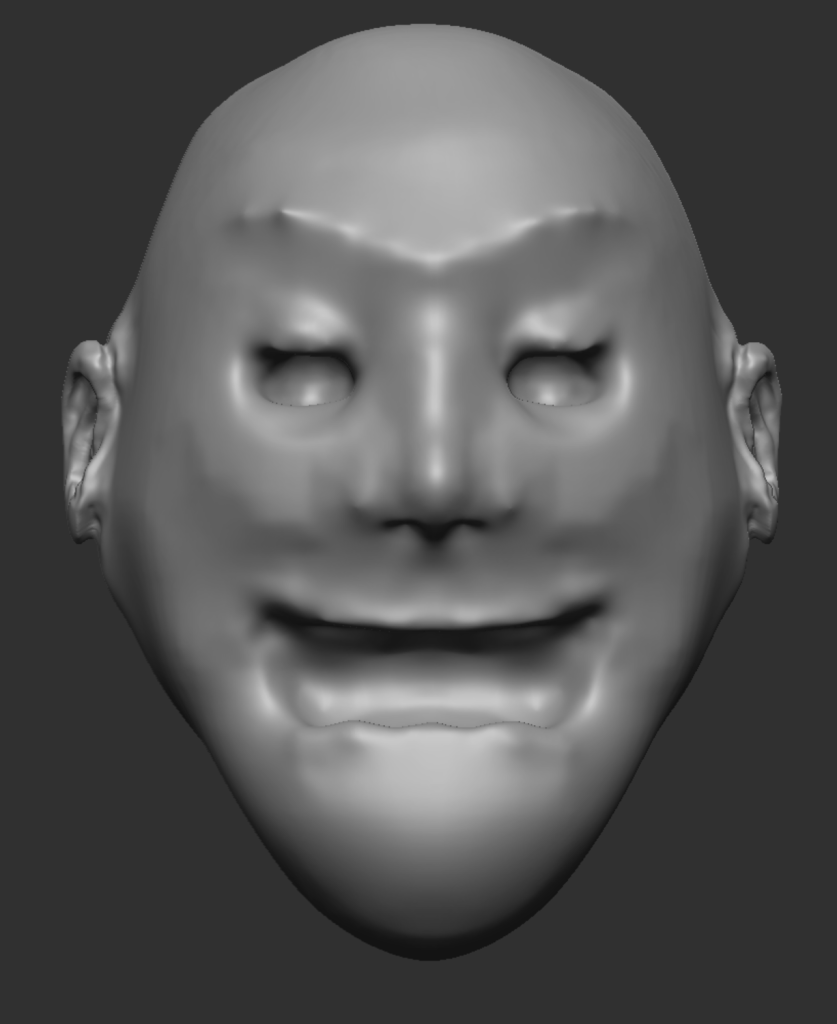
The Style: My character would technically have three different styles, an angel form, a demon (succubus) form and finally a fallen angel form which would trigger at certain points linking to her emotions. 
  – Angel: In this form she would have fair pale skin, a platinum white hair and rich amber eyes. As the world she is in is a medieval fantasy-esk world she would be wearing a leather tunic with either half plate under that or leather armour over the top of it. 
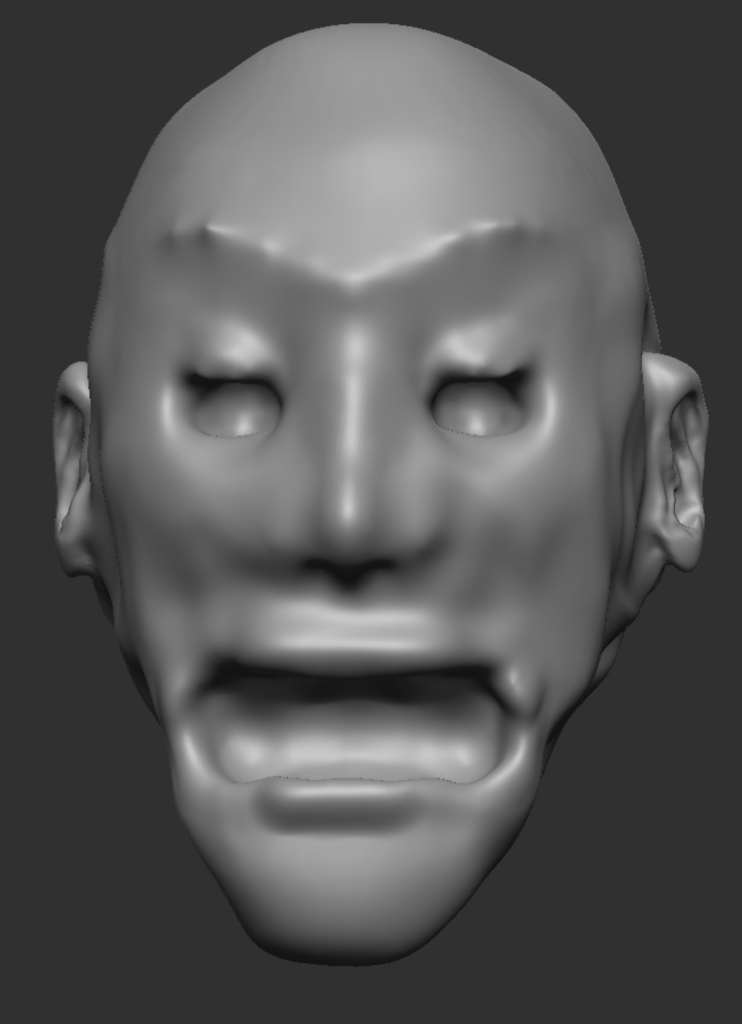
  – Demon (Succubus): In this form her hair would change to a deep black, her skin from this pale white to a crimson red, two short horns protruding from her head and two small demonic wings sprouting from her back. Her eyes would darken into a light red. She would be more likely than not be wearing the same armour and clothing unless she was trying to charm or seduce someone. 
  – Fallen: This from wouldn’t trigger unless she was angered to a state of pure rage, or distraught to the point where her emotions are conflicting too much. In this form her skin would turn into an ashy grey colour, her eyes would become devoid of light and becoming pools of darkness, two long wings will sprout from her back, one purely made of bones which is being held together by necrotic energy, and a normal succubus wing.  

Categories
3D Character Model

Adding more detail and Painting (Character)

This was the last session that I did on my piece. I started off by first adding all the fine detail to the clothing with the hemps on the corners and also adding a belt with ornate metal tips. Also adding the details to the shoes and some very fine lines on the legging to show texturing. I sadly didn’t end up adding the metal gloves due to time restraints and issues that arose during Christmas where my computer physically wouldn’t let me open the files expressing that it ended up having an error.

I did end up running into some issues with the main chest piece and leggings were whenever I went and dynameshed then above there original 128 pixels it would cause them to split slightly and cause a really weird effect to happen that would break the mesh.

I ended up colour checking all of the colours based off of the character art piece I created before hand. This allowed me to be as accurate as I could be with my colours.

Categories
3D Character Model

Adding Clothing (Character)

Within this session I added the clothing to her by adding a mask over the top of her and then extruding the mask to turn into clothing. With making her dress/skirt I also extruded the bottom of it allowing it to have a flow at the bottom. After moving parts around and making it look more natural I ended up adding the scale mail to the arms by using a pre-made scale brush, which was suggested to me in one of the lab sessions.

Categories
3D Character Model

Adding Details (Character)

This session I wanted to merge all of the blockout together and start adding detail to it and making it look more like a body by using references of human anatomy to make sure that both my proportions were right and so were my detailing.

Adding the detail to the body wasn’t very difficult as I mainly used the clay build up to make muscle and then smoothed over the top of it. Although what I did have issues was with the face as you can tell from the three different variations. At first I ended up making the nose to big and then forgot to fix the bridge of the nose after shrinking it down. Although I am actually happy with it now. Although I did something that I already regret which is that I merged the eyes into the rest of the body and then dynameshed. I thought it was good at first but after I did more work on it I have regretted my decisions but can’t go back as I’ve done too much work on it.

Categories
3D Character Model

Block-out Character (Character)

This session I worked hard on trying to get a base block-out made for my character. I originally attempted to create it out of z-spheres but after about half an hour of attempts I decided to try it a different way. I decided to look up way on how to make blockouts and ended up following a guide to eventually create my blockout character.

I ended up making a lot of it by expanding and shaping spheres to the correct length and once I had done one side “Mirror and Weld” was what I used to make sure that I had it perfectly mirrored on both sides.

Categories
3D Character Model

Hard Surface Modelling

In this lab session I went and created one of the assets that will be used in my final piece. The item that I created was that of a magic artifact/cube. I looked at multiple reference images with a lot of them normally consisting of having some sort of runic paten on them and some of them had pieces coming out of them almost like a puzzle cube.

I tried to incorporate all of them in my end product by extruding multiple parts of the cube dragging both in and out of the cube so in turn both adding and taking away from it. The image I had in my head was that if the piece was to be animated and all of the different pieces would be constantly moving around almost as if it was trying to unlock.

When I add color to this I am intending to make the material of the cube to look like stone with a purple glow from the holes and around the crevasses.

Categories
3D Character Model

My second attempt and general experimenting

With this task I didn’t really have a set idea of what I wanted as the end goal until about half way though the creating of it, which you’ll definitely see in the screenshots. I was mainly trying to get a grip of the software and experiment with different features that I knew about from using it for a short period of time in college on a mac.

At first I was trying to go for a horror based creature, more so a scary henchman than a large tendril creature. At this point I forgot to increase my dynamesh so I had it set to 12 so it was rather blocky.

After realising the issue I’d given myself I increased the dynamesh poly count and continued on starting to slowly move the head from being less rectangular and more of an oval, similar to a normal humans head.

At this point I realised I wanted to generally create a rough character of a punk rocker of sorts. So I went onto try and fit in some of the stereo types in such as stud earing and a general grungy feeling hence forth the staples around the left ear.

By the end of it once I had added multiple more shapes into it for both the eyes as well as each of the teeth I ended up realising that I have unknowingly created a reject Gorillaz character without even meaning too. Also after inspection of it whilst trying to make the skin smoother and add more detail I ended up adding too many polygons and putting the dynamesh to over 1000 whilst the actual limit I should have been using is about 100 ish.

Categories
3D Character Model

My First Zbrush Attempt/Pumpkin

Although this wasn’t supposed to be my first attempt at zbrush I ended up missing the first lab session due to specific things happing at home that greatly effected me. I followed through the lab session as we went through masks and the general shortcuts of zbrush and its many tools/brushes that it contains. We also were shown dynamesh which allowed up to increase the overall polycount of the model.

Categories
3D Character Model

My Z-Spheres Abominations

This week we learned about Z-Spheres and how to use them in Z-Brush. To start off I initially started by playing around with the tools that were given to me, expanding points and trying to make interesting shapes with it. I ended up creating something that looked quite similar to either a deer of sorts or perhaps a young dragon. I wasn’t really expecting much to come out of this as I wasn’t using a reference images and I didn’t have an end goal in sight, I was mainly creating it to come to grips with this new information.

After that I decided to go straight into the deep end and try and sculpt a human hand, or at least the base shape of a human hand. I feel like personally I did a good job and there isn’t much I can do until I start to sculpt on it. I had multiple reference images for this as well as my actual hand for reference as well.