Categories
Category: Uncategorized
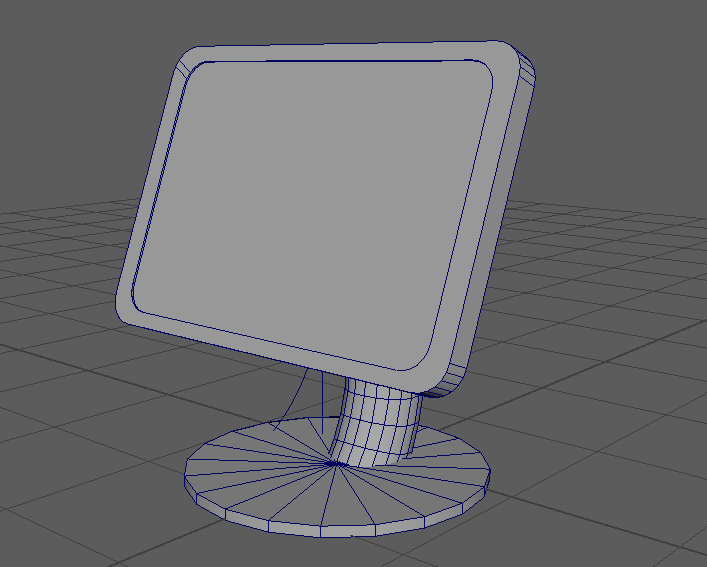
To start off I created the kiosk. I initially started by looking up some references for it and finding one that looks good and would fit the vibe of the café itself, whilst also being a good price as if we were actually going to buy it for the café itself. After I found one that I liked I opened up Maya and started up.
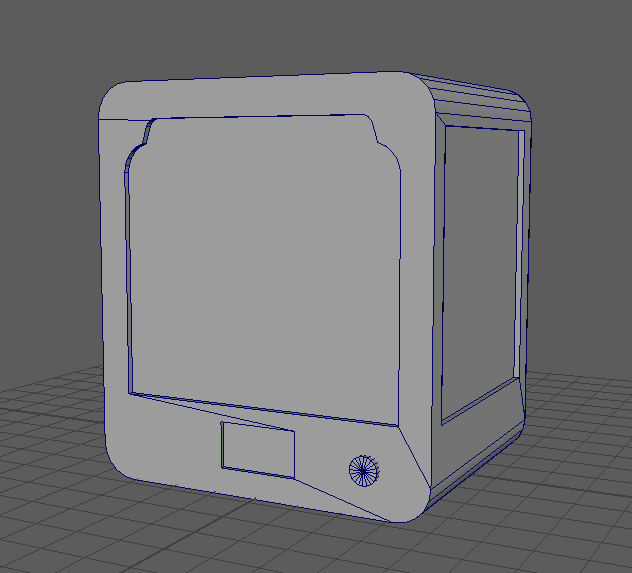
I then started to create the next model, this one being a 3D printer. With this one I also looked not only at the price, but the size of it itself as well as the user accessibility for other people. I ended up finding a nice compact model that had a touch screen on it allowing much easier accessibility. I then once again booted up Maya and started making it again.
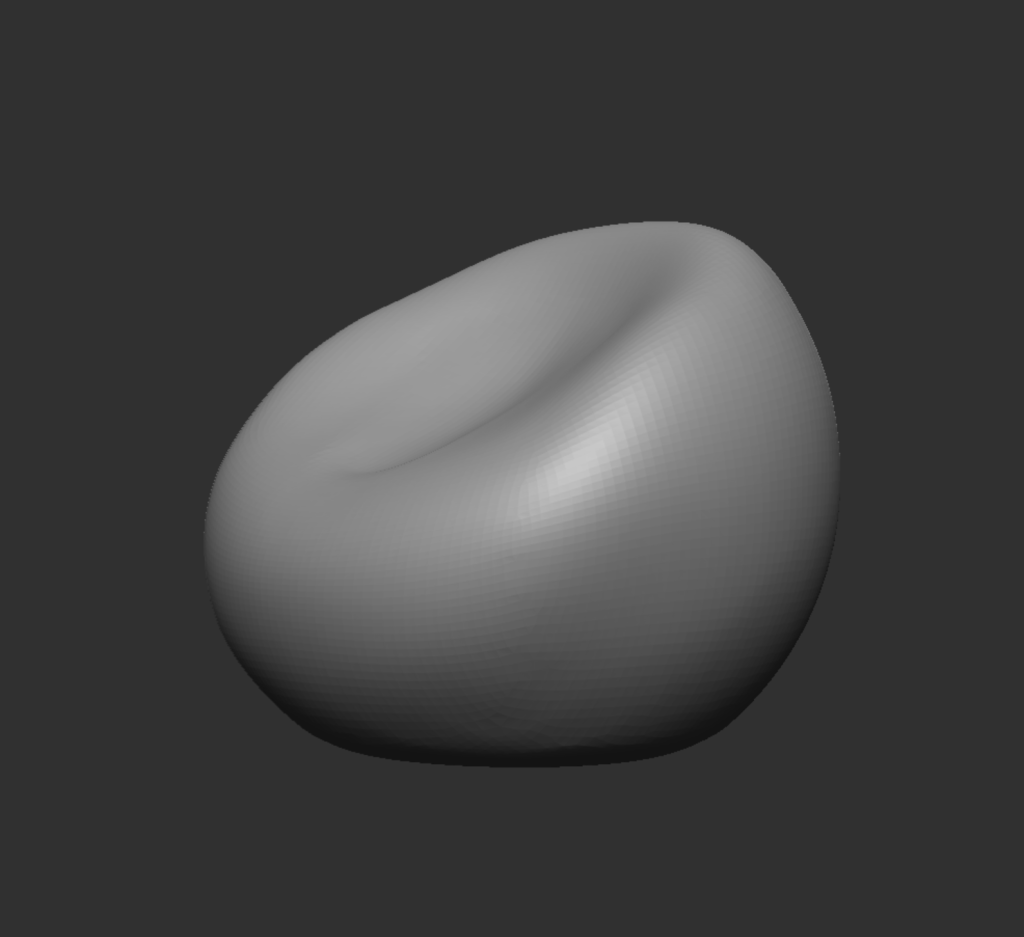
And then finally I decided to create the bean bag itself. This one was both easier and harder in different ways. It was easier as bean bags themselves are a lot cheaper and obtainable than kiosks and 3D printer, though it was harder as I originally tried to create it in Maya, which didn’t go great. I ran into a lot of issues with Maya as the software is a lot better for creating rigid and sharp edges and a bean bag is neither of them. So, after about 3 attempts failing, I decided to go to ZBrush instead managing to create a low poly version of a bean bag on the first attempt.
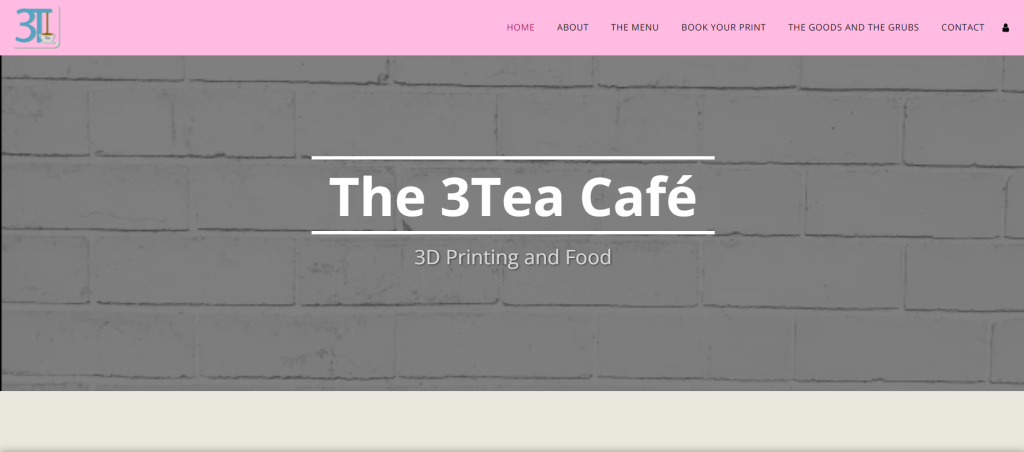
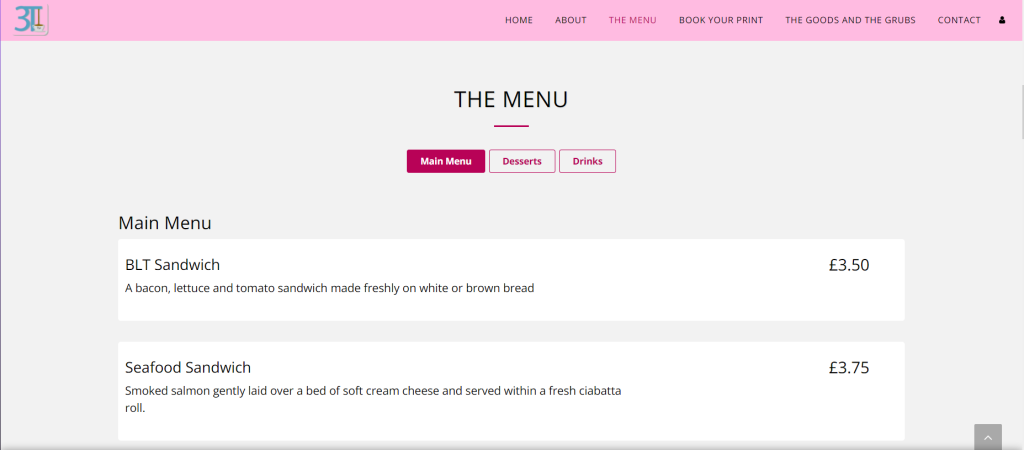
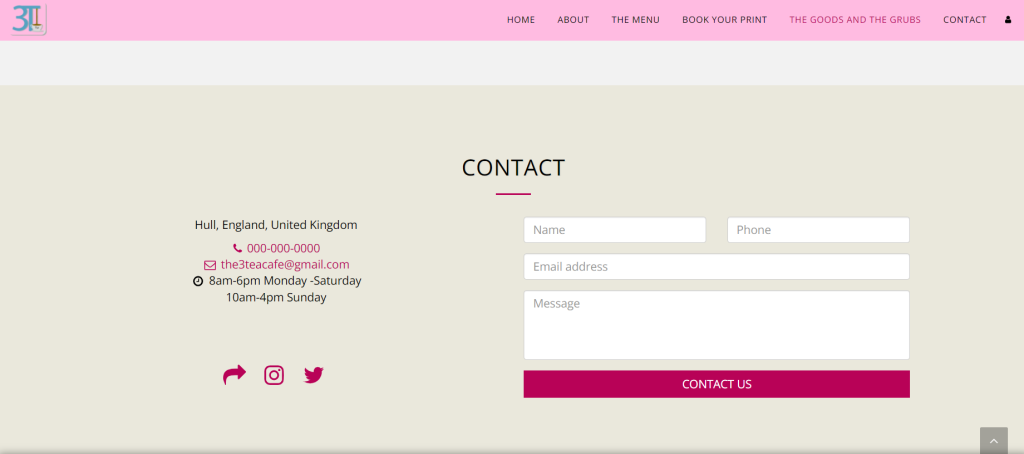
After I got all those done, I started work on the website, I used Wix to assist in the creation of it as it had a lot of things that assisted in the designing and layout of the website and made things flow a lot nicer overall. I was also able to keep the feel of the PowerPoint/the theme of it throughout the entire website.
We decided within the first couple weeks what it was exactly what we were going to do, and that to be precises would consist of designing a 3D Café that would not only serve food, but also allow people to create filament-based 3D models either by USB or Bluetooth. The café’s main selling point was the 3D printing, but although we wanted to sell it to people using that we still wanted to keep them coming back and bring in less tech savvy people by still having an enjoyable menu.
My strengths consisted of design, 3D modelling and website creation. So, after taking in consideration the skills of all of us Harry allotted us with specific jobs. I was given the jobs of assisting Nicole with the work load of 3D models that she needed to make, assisting Harry in the creation and Maintenace of the social media websites and finally the main part for me, which was the design and creation of the website and the meal/drink menu.
I personally felt happy with the work load I was given as I enjoyed creating 3D models and after the previous year/modules I had the skills required for both the creation of 3D models using both Maya and ZBrush. And I also had previous experience creating websites as well, from the use of both WordPress and Wix. This meant that I was quite confident within the creation of all the items, and my own skills.
The café’s layout was designed by mainly Harry and Nicole as it was formed within the first week whereas I didn’t end up joining the group until the second week of the module.
In our group we had three team members, Harry, Nicole and Me. Harry was in charge of the Branding, Social, Advertisement and Texturing. Nicole was in charge of the 3D modelling and Design. And I was in charge of some 3D models as well as some Social and the Website. Overall, I felt as though there was some good teamwork within our group. Bearing in mind that although we didn’t do weekly group calls, we were always keeping each other up to date on what we were doing task wise and were always willing to assist each other if the work load was becoming to overbearing or we got an error within a certain software. Harry was the team leader of our group and did his role really well, he assisted when needed to and made sure that both me and Nicole were keeping on track and knew exactly what we were doing, and when exactly we should be doing it. For example, during the first couple weeks we all sat down together to create a plan and come up with ideas for the café’s name itself.
We created a discord server to keep in touch even whilst not at the university, this is where we did our occasional group call and how we kept each other in the loop no matter what. By doing this I feel as though it allowed our teamwork and group overall to become stronger and flourish, presenting a better result at the end of it. Whilst creating the PowerPoint as well, we also managed to make it so that we could all work on it together at the same time which allowed us to give continuous feedback to one and other whilst we’re working.
Categories
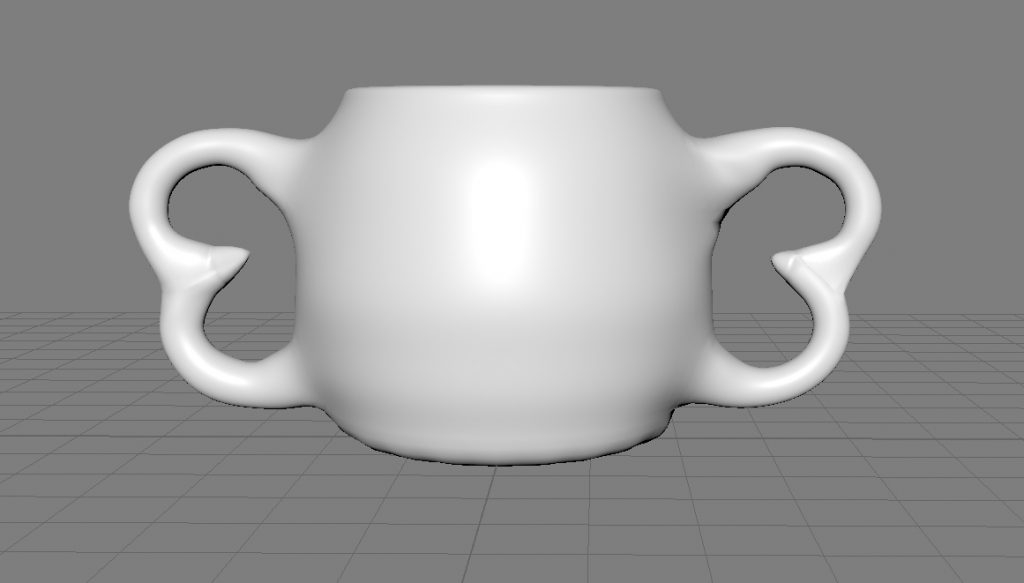
The Making of My Mug
This was my first Maya based project which I believe came out fairly well. It took me about 4 hours to make as I was still getting used to the controls and the overall feeling of the software itself, whilst also trying to push myself and make a mug I was happy with.
I started off by first creating a cylinder and deleting the top face of it. This allowed me to have the base structure of the mug. I then continued to add an edge loop, which allowed me to smooth the top and bottom of the mug by pressing three on the keypad and in turn creating a bevel. I then proceeded to use the extrude tool to increase the thickness of the outer face.
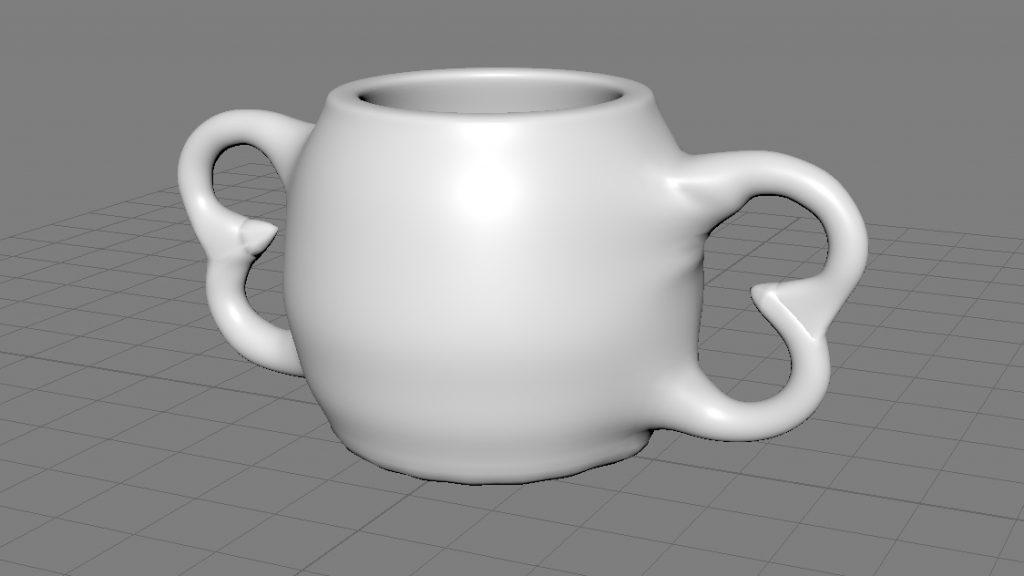
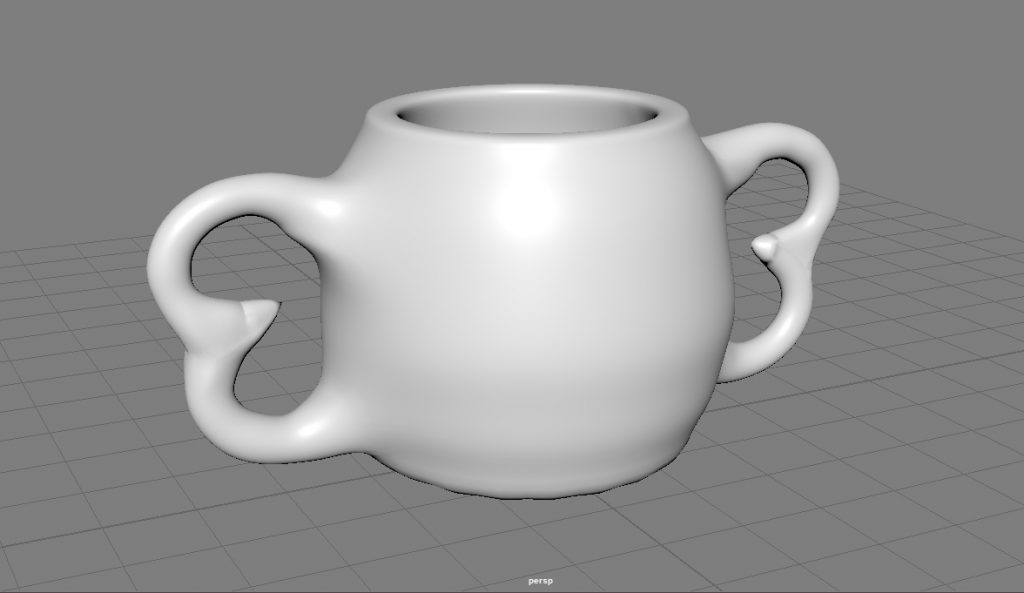
I then used the vectors of the cylinder and widened it into a spherical shape, this involved me highlighting each vector layer as an individual movement. I then went through a lot of struggle with creating the handles of the mug, from trying to use only 2 torus’s to adding: a cone, a torus, a sphere, and a cube. The torus just didn’t fit right no matter how I moved it. I also tried to delete some faces on the torus’s and merge them together which resulted in it just mashing and twisting together. I then used a sphere which worked to a point but I still wasn’t happy with the end result. This led onto the use of a cube, I thought that it might give me the pointed look and feel that I wanted to, but even after adding multiple edge loops to it to it still didn’t meet the standards that I wanted. I finally ended up on using a cone, I had already attempted using a cone and the end result wasn’t great, but the second time that I ended up using it was different, by this point I’d gotten up to the part in the video about the use of merging vectors, this method worked much better in my opinion and allowed me to get the look I wanted.
After I was happy with the handle I copied and pasted it so that I could use it on both sides of the mug. I then started on attaching the two handles to the mug, this took a while as I repeatedly kept attaching the wrong vector points together.